Organizations use collaborative document authoring solutions like Salesforce ताना to embed real-time, collaborative documents inside Salesforce records. Quip is Salesforce’s productivity platform that transforms the way enterprises work together, delivering modern collaboration securely and simply across any device. A Quip repository captures invaluable organizational knowledge in the form of collaborative documents and workflows. However, finding this organizational knowledge easily and securely along with other document repositories, such as Box or अमेज़न सरल भंडारण सेवा (Amazon S3), can be challenging. Additionally, the conversational nature of collaborative workflows renders the traditional keyword-based approach to search ineffective due to having fragmented, dispersed information in multiple places.
We’re excited to announce that you can now use the अमेज़ॅन केंद्र connector for Quip to search messages and documents in your Quip repository. In this post, we show you how to find the information you need in your Quip repository using the intelligent search function of Amazon Kendra, powered by machine learning.
समाधान अवलोकन
With Amazon Kendra, you can configure multiple डाटा के स्रोत to provide a central place to search across your document repository. For our solution, we demonstrate how to configure a Quip repository as a data source of a search index using the Amazon Kendra connector for Quip.
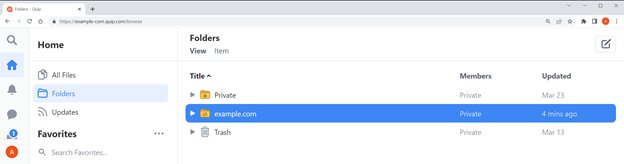
The following screenshot shows an example Quip repository.

The workspace in this example has a private folder that is not shared. That folder has a subfolder that is used to keep expense receipts. Another folder called example.com is shared with others and used to collaborate with the team. This folder has five subfolders that hold documentation for development.
To configure the Quip connector, we first note the domain name, folder IDs, and access token of the Quip repository. Then we simply create the Amazon Kendra index and add Quip as a data source.
.. पूर्वापेक्षाएँ
To get started using the Quip connector for Amazon Kendra, you must have a Quip repository.
Gather information from Quip
Before we set up the Quip data source, we need a few details about your repository. Let’s gather those in advance.
डोमेन नाम
Find out the domain name. For example , for the Quip URL https://example-com.quip.com/browse, the domain name is quip. Depending on how single sign-on (SSO) is set up in your organization, the domain name may vary. Save this domain name to use later.
Folder IDs
Folders in Quip have a unique ID associated with them. We need to configure the Quip connector to access the right folders by supplying the correct folder IDs. For this post, we index the folder example.com.
To find the ID of the folder, choose the folder. The URL changes to show the folder ID.

The folder ID in this case is xj1vOyaCGB3u. Make a list of the folder IDs to scan; we use these IDs when configuring the connector.
एक्सेस टोकन
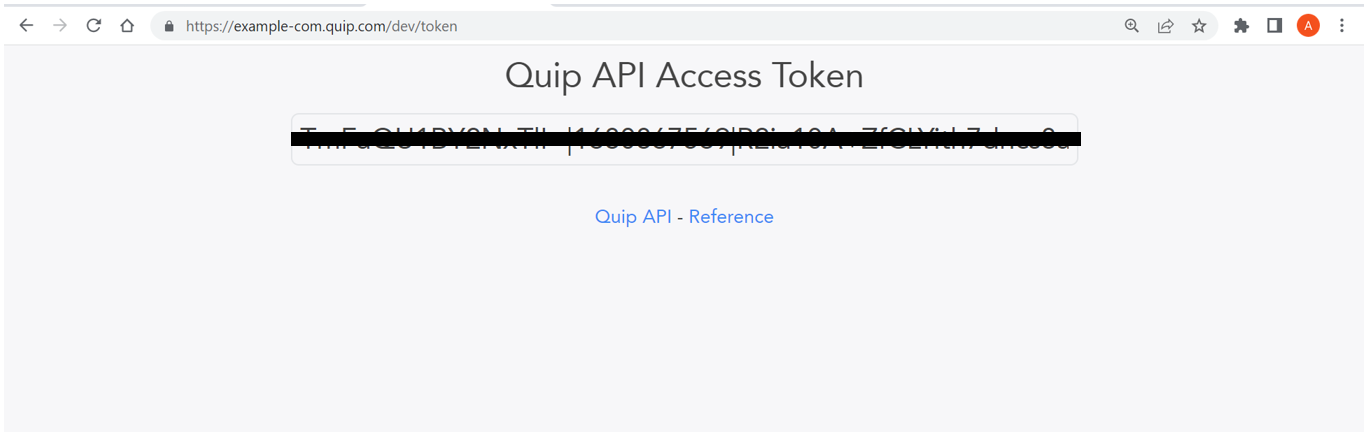
Log in to Quip and open https://{subdomain.domain}/dev/token in a web browser. In the following example, we navigate to https://example-com.quip.com/dev/token। उसके बाद चुनो Get Personal Access Token.
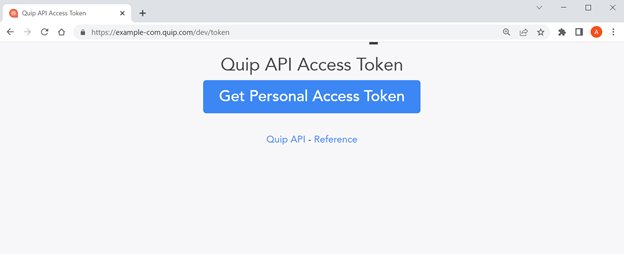
Copy the token to use in a later step.
We now have the information we need to configure the data source.
Amazon Kendra इंडेक्स बनाएं
To set up your Amazon Kendra index, complete the following steps:
- में साइन इन करें एडब्ल्यूएस प्रबंधन कंसोल and open the Amazon Kendra console.
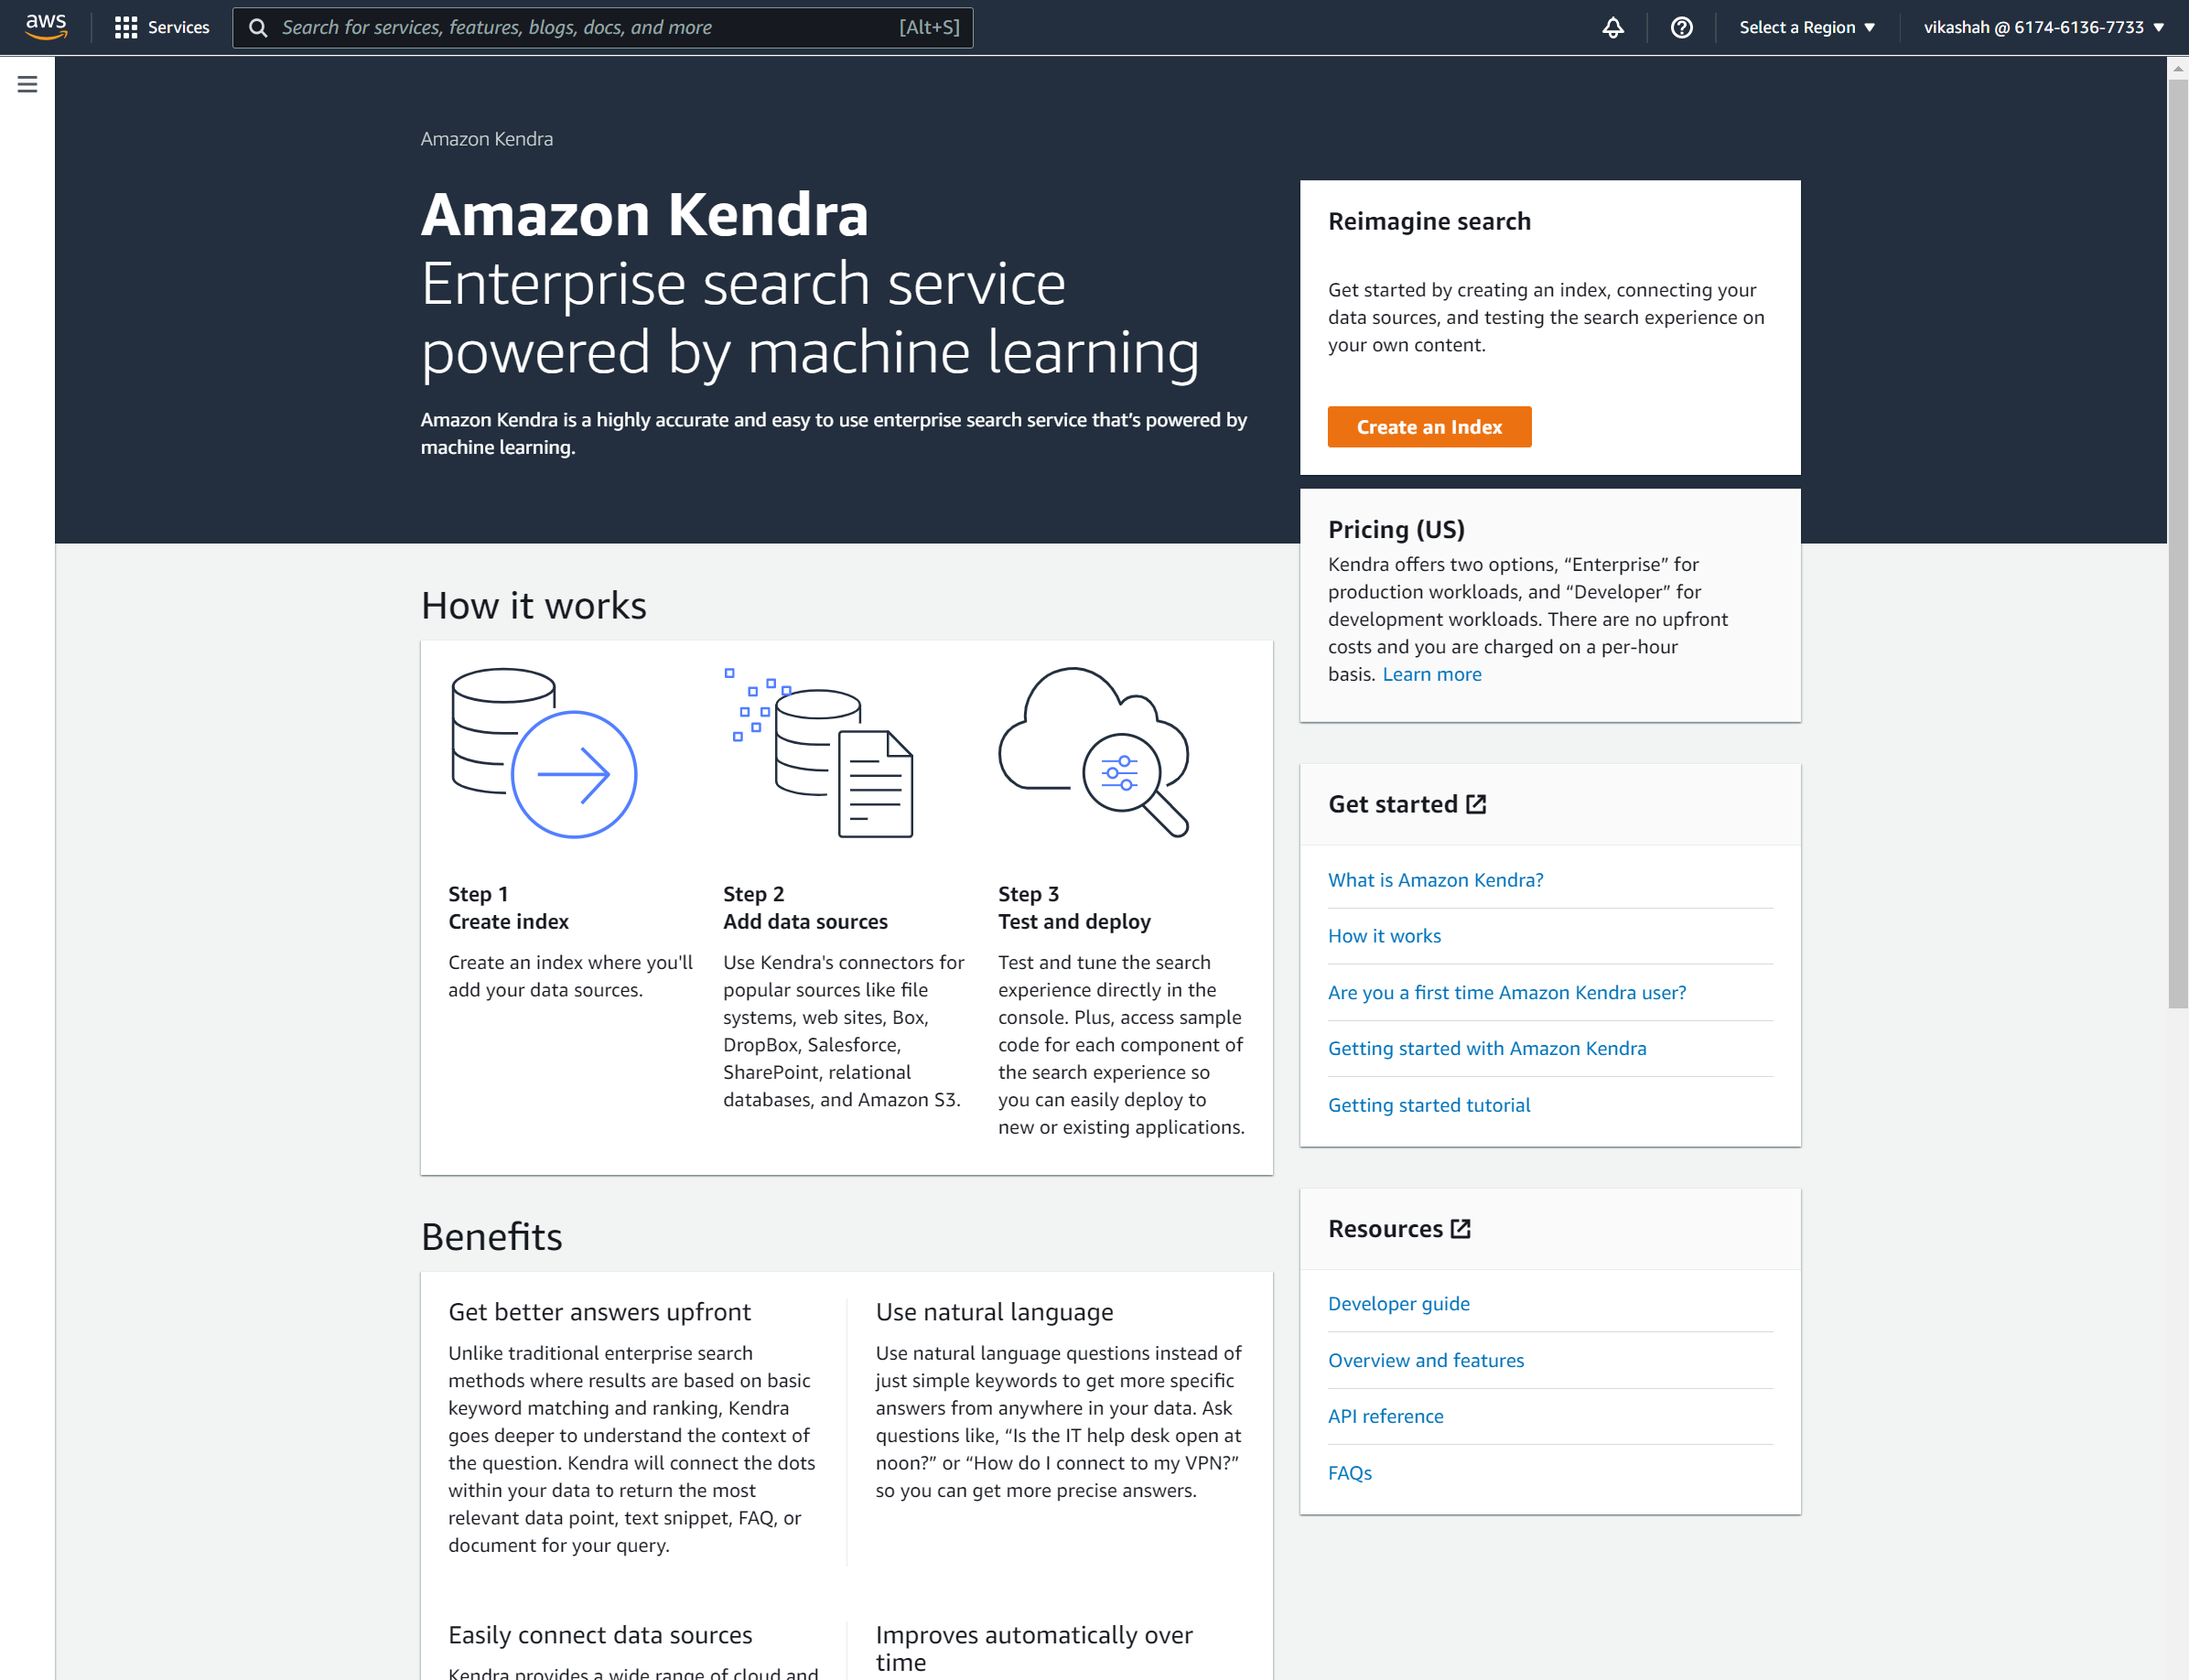
If you’re using Amazon Kendra for the first time, you should see the following screenshot.
- चुनें एक इंडेक्स बनाएं.
- के लिए सूचकांक नाम, दर्ज
my-quip-example-index. - के लिए Description, एक वैकल्पिक विवरण दर्ज करें।
- के लिए IAM भूमिका, use an existing role or create a new one.
- चुनें अगला.

- के अंतर्गत एक्सेस कंट्रोल सेटिंग्स, चुनते हैं नहीं to make all indexed content available to all users.
- के लिए उपयोगकर्ता-समूह विस्तार, चुनते हैं कोई नहीं.
- चुनें अगला.

के लिए प्रोविजनिंग एडिशन, you can choose from two options depending on the volume of the content and frequency of access.
- इस पद के लिए, चयन करें डेवलपर संस्करण.
- चुनें बनाएं.

Role creation takes approximately 30 seconds; index creation can take up to 30 minutes. When complete, you can view your index on the Amazon Kendra console.

Add Quip as a data source
Now let’s add Quip as a data source to the index.
- अमेज़न केंद्र कंसोल पर, के तहत डाटा प्रबंधन नेविगेशन फलक में, चुनें डाटा के स्रोत.
- चुनें कनेक्टर जोड़ें के अंतर्गत ताना.

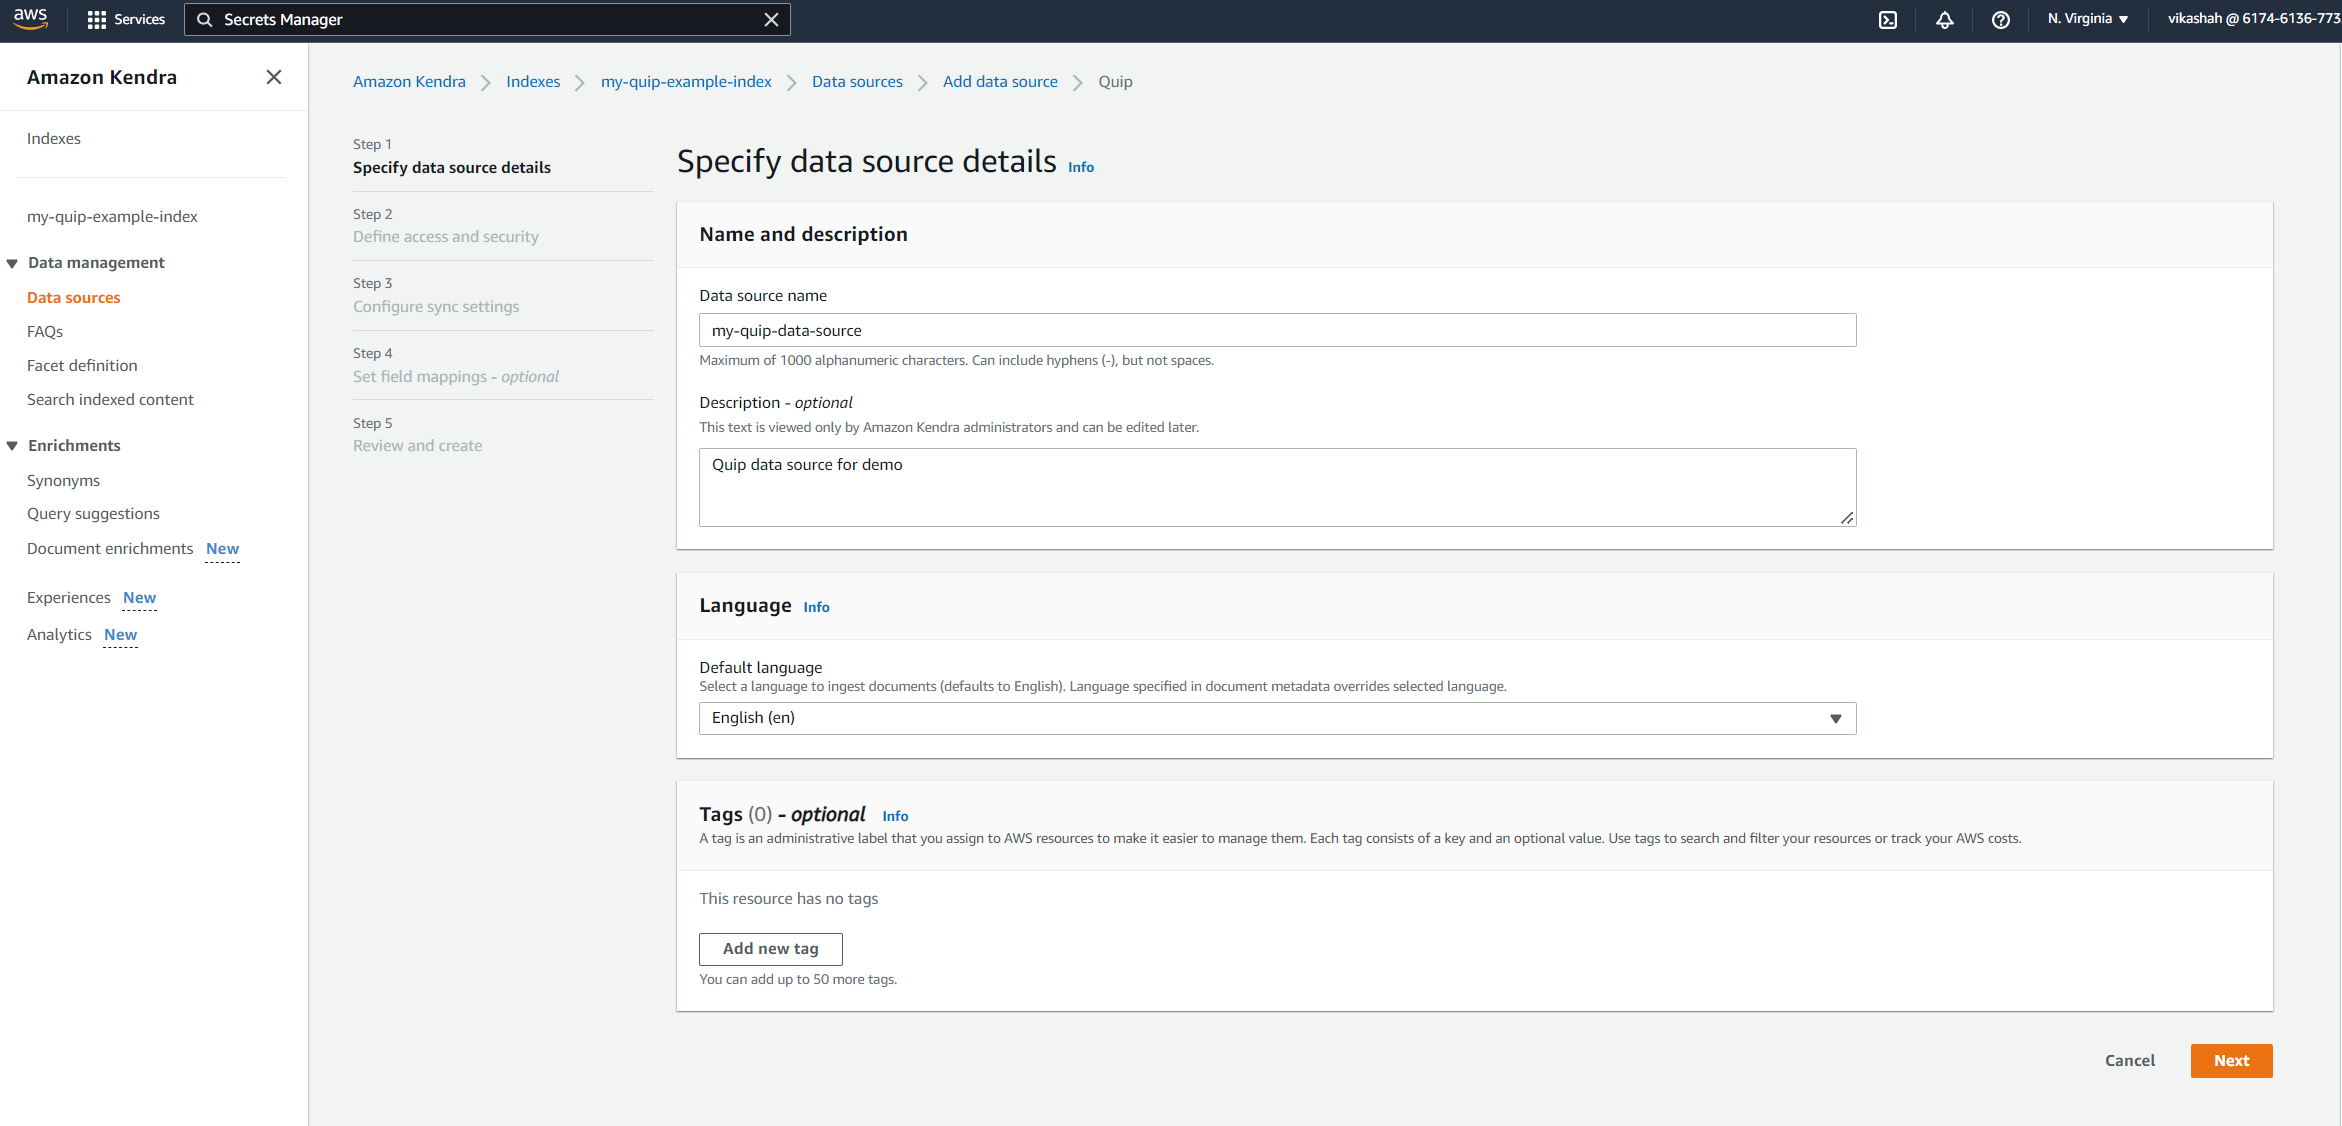
- के लिए डेटा स्रोत का नाम, दर्ज
my-quip-data-source. - के लिए Description, एक वैकल्पिक विवरण दर्ज करें।
- चुनें अगला.
- Enter the Quip domain name that you saved earlier.
- के अंतर्गत राज, चुनें Create and add a new Secrets Manager secret.
- के लिए गुप्त नाम, enter the name of your secret.
- के लिए Quip token, enter the access token you saved earlier.
- चुनें सहेजें और गुप्त जोड़ें.

- के अंतर्गत IAM भूमिका, choose a role or create a new one.
- चुनें अगला.

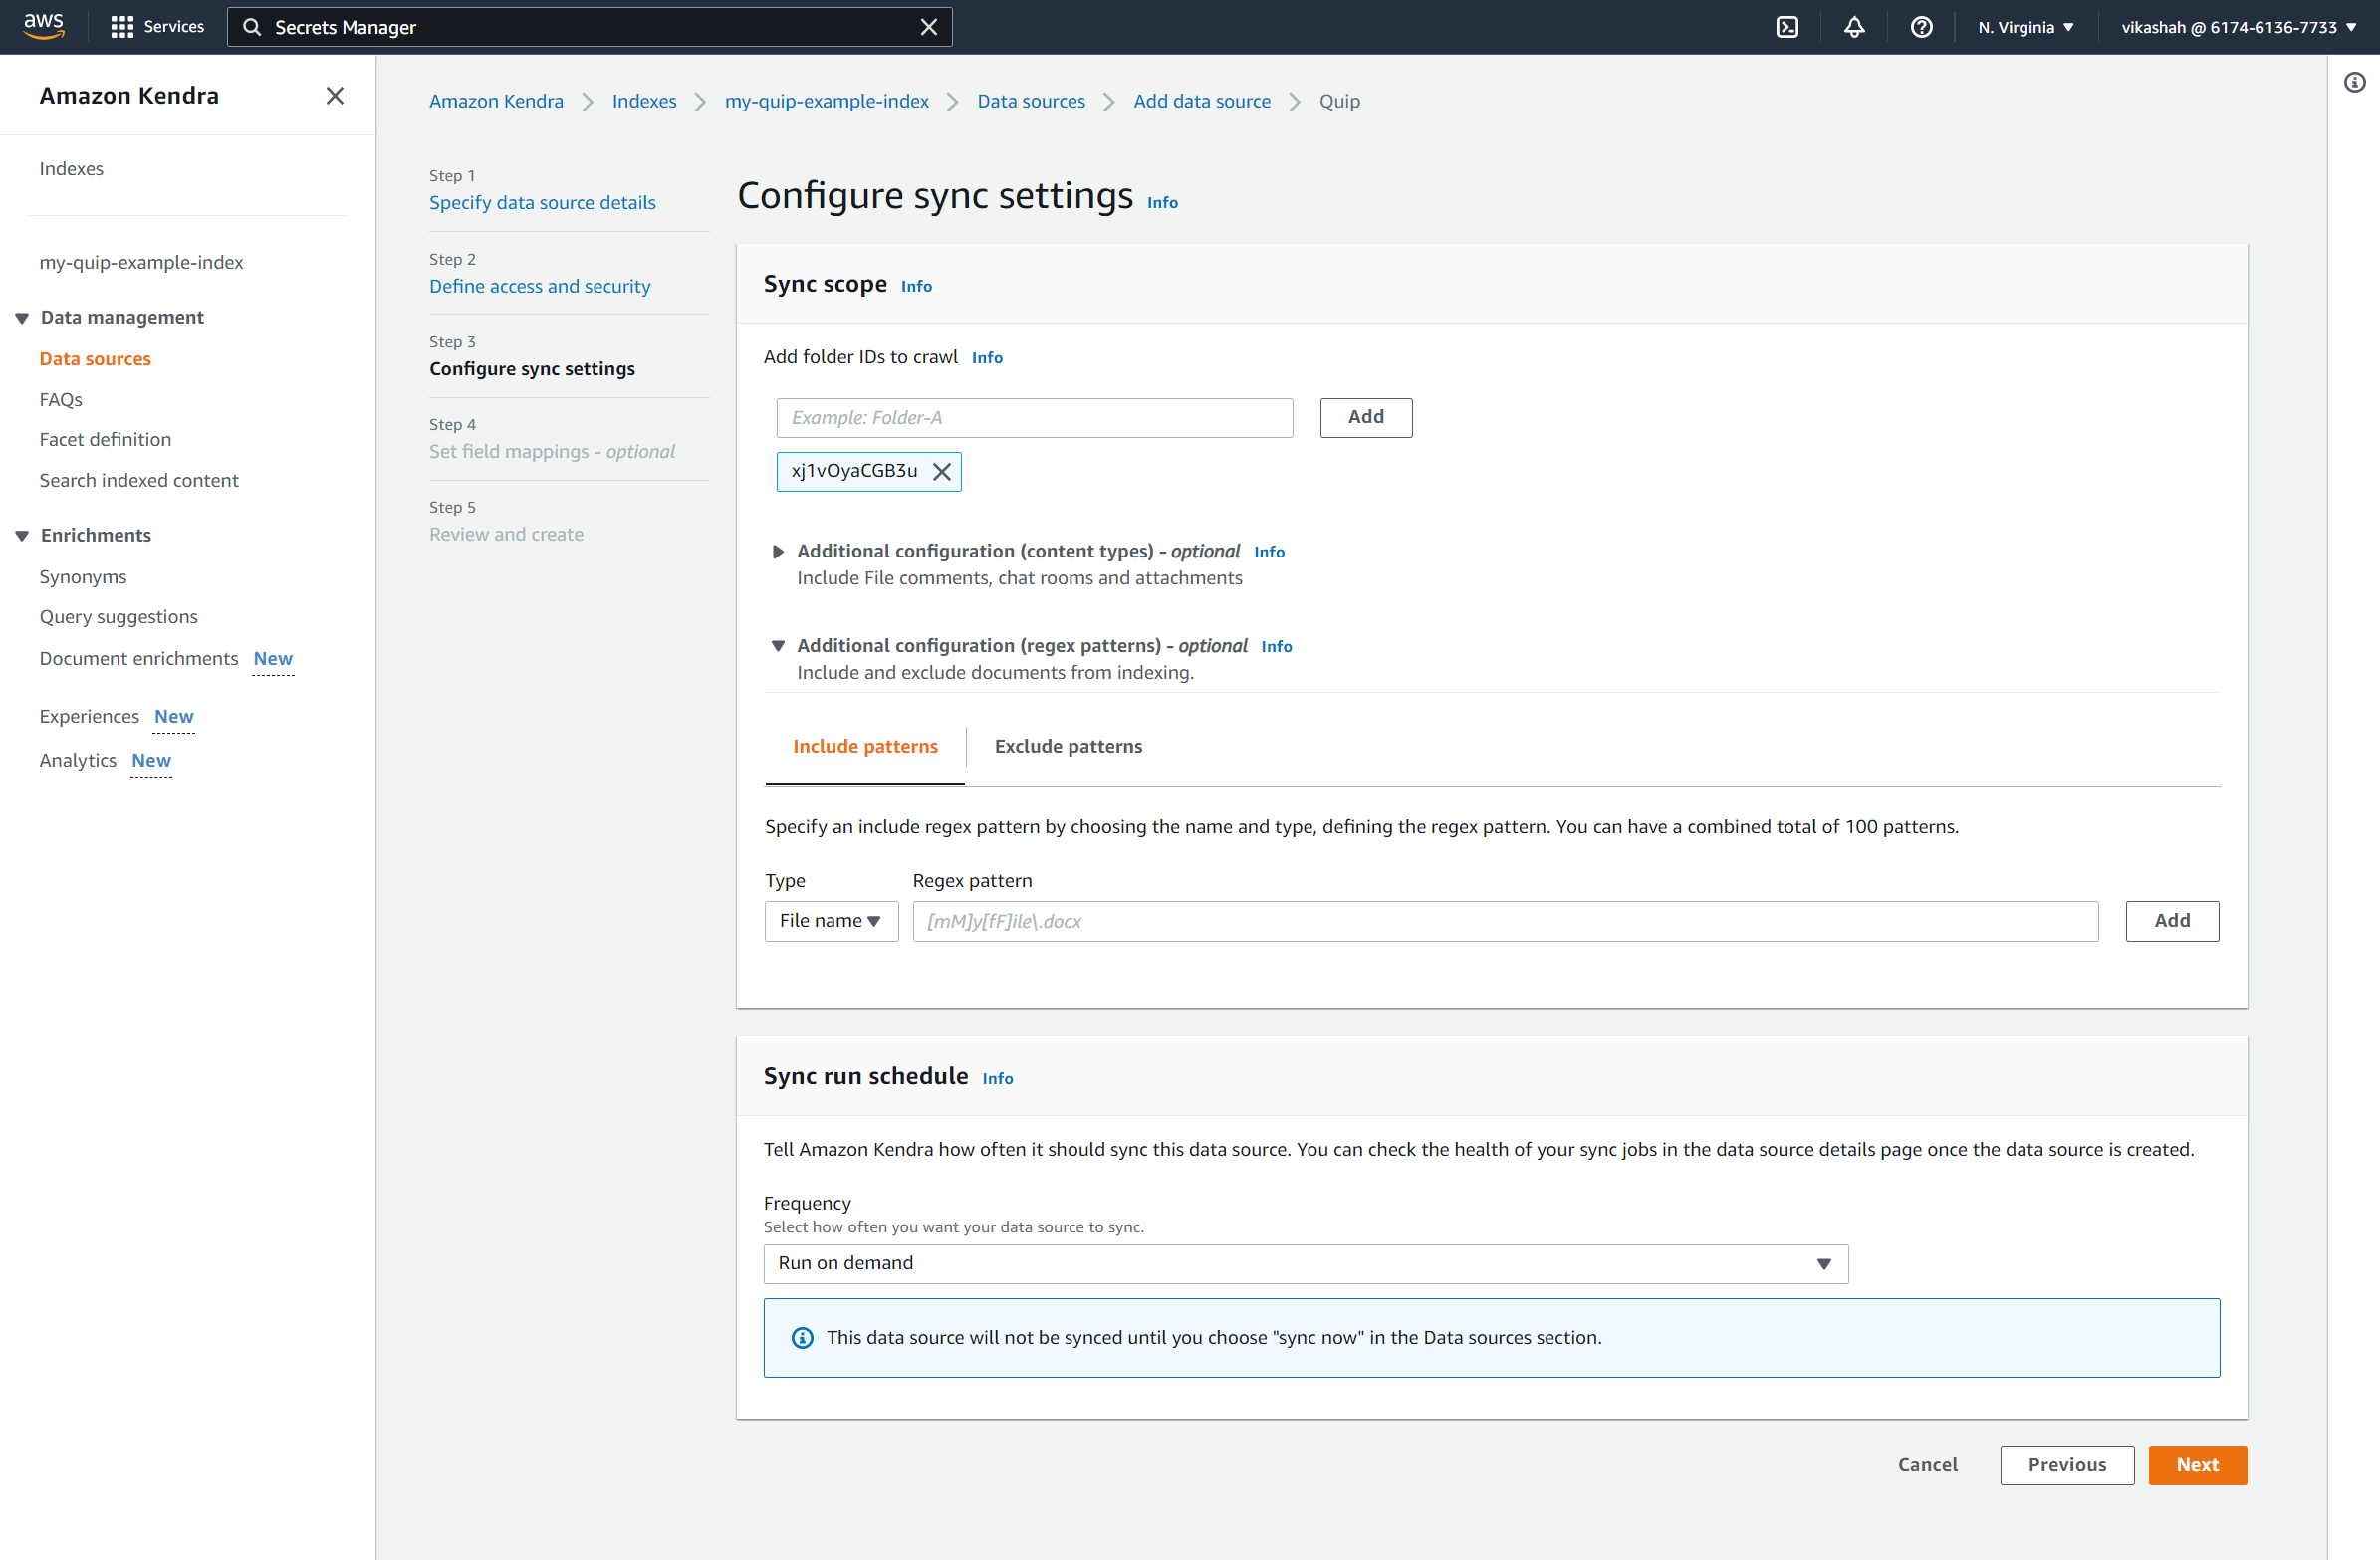
- के अंतर्गत सिंक स्कोपके लिए, Add folder IDs to crawl, enter the folder IDs you saved earlier.
- के अंतर्गत सिंक रन शेड्यूलके लिये आवृत्ति, चुनते हैं मांग पर भागो.
- चुनें अगला.
The Quip connector lets you capture additional fields like authors, categories, and folder names (and even rename as needed).
- For this post, we don’t configure any field mappings.
- चुनें अगला.

- Confirm all the options and add the data source.
Your data source is ready in a few minutes.
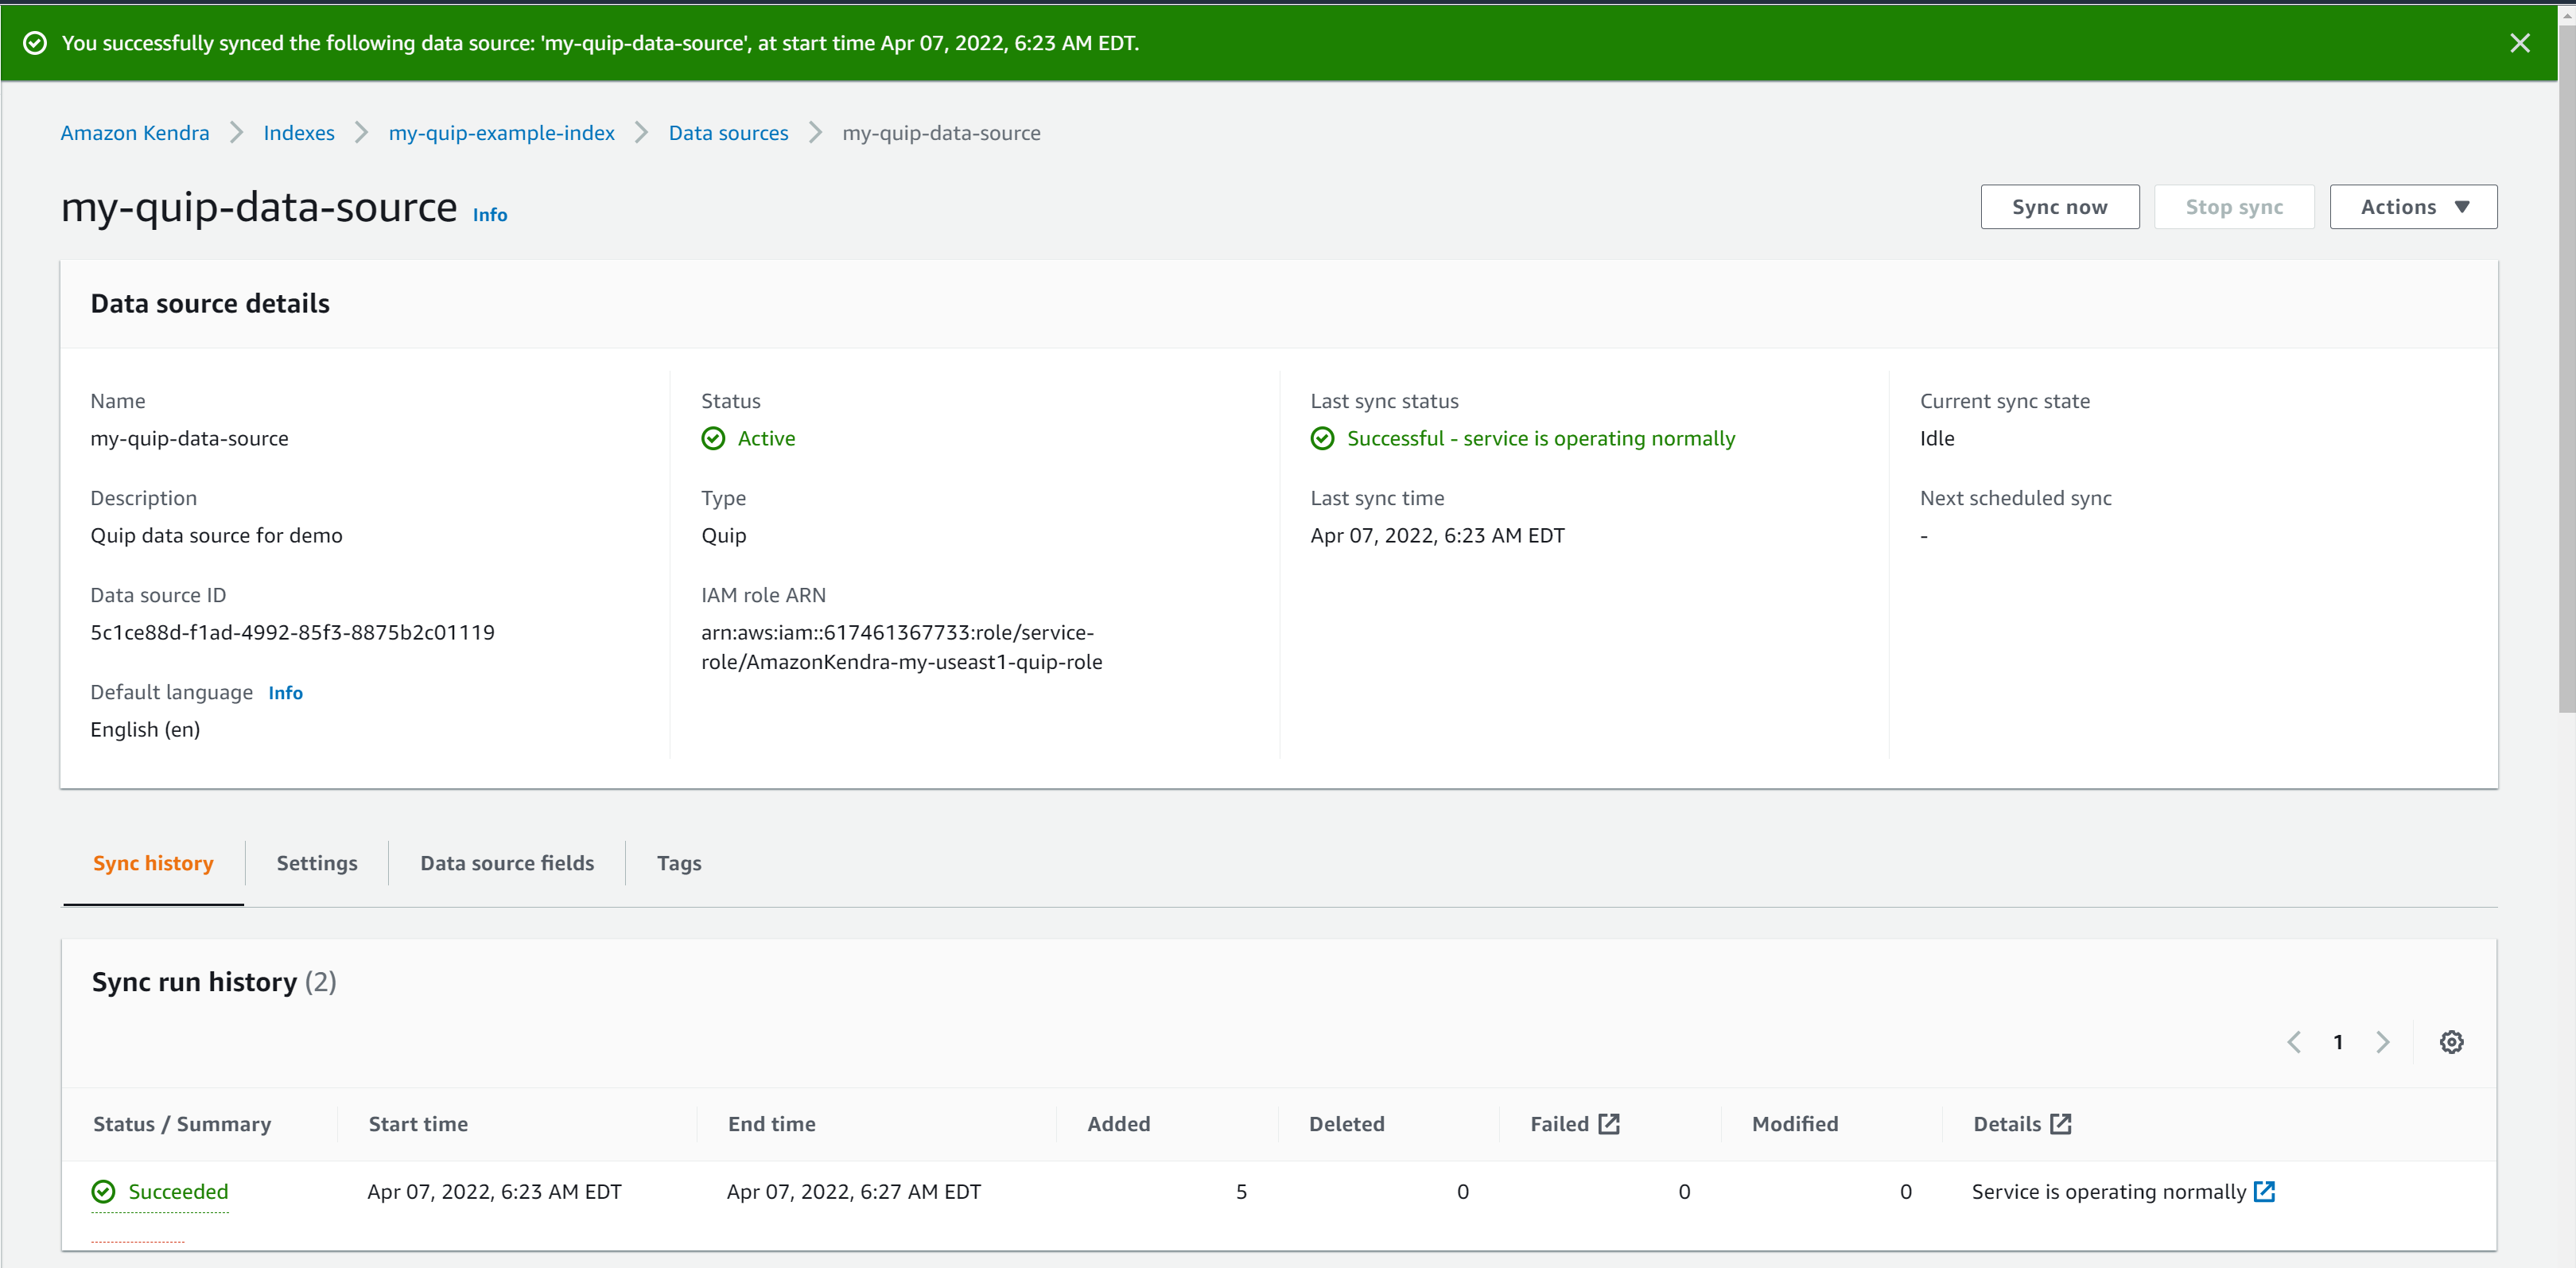
- When your data source is ready, choose अभी सिंक करें.

Depending on the size of the data in the Quip repository, this process can take a few minutes to a few hours. Syncing is a two-step process. First, the documents are crawled to determine the ones to index. Then the selected documents are indexed. Some factors that affect sync speed include repository throughput and throttling, network bandwidth, and the size of documents.
The sync status shows as successful when the sync is complete. Your Quip repository is now connected.
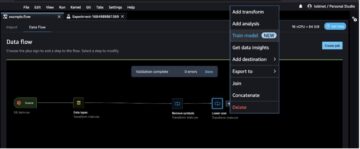
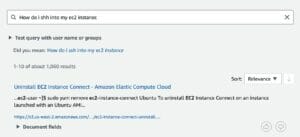
Run a search in Amazon Kendra
Let’s test the connector by running a few searches.
- अमेज़न केंद्र कंसोल पर, के तहत डाटा प्रबंधन नेविगेशन फलक में, चुनें अनुक्रमित सामग्री खोजें.
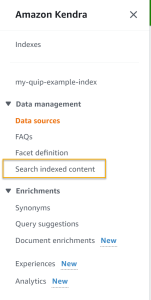
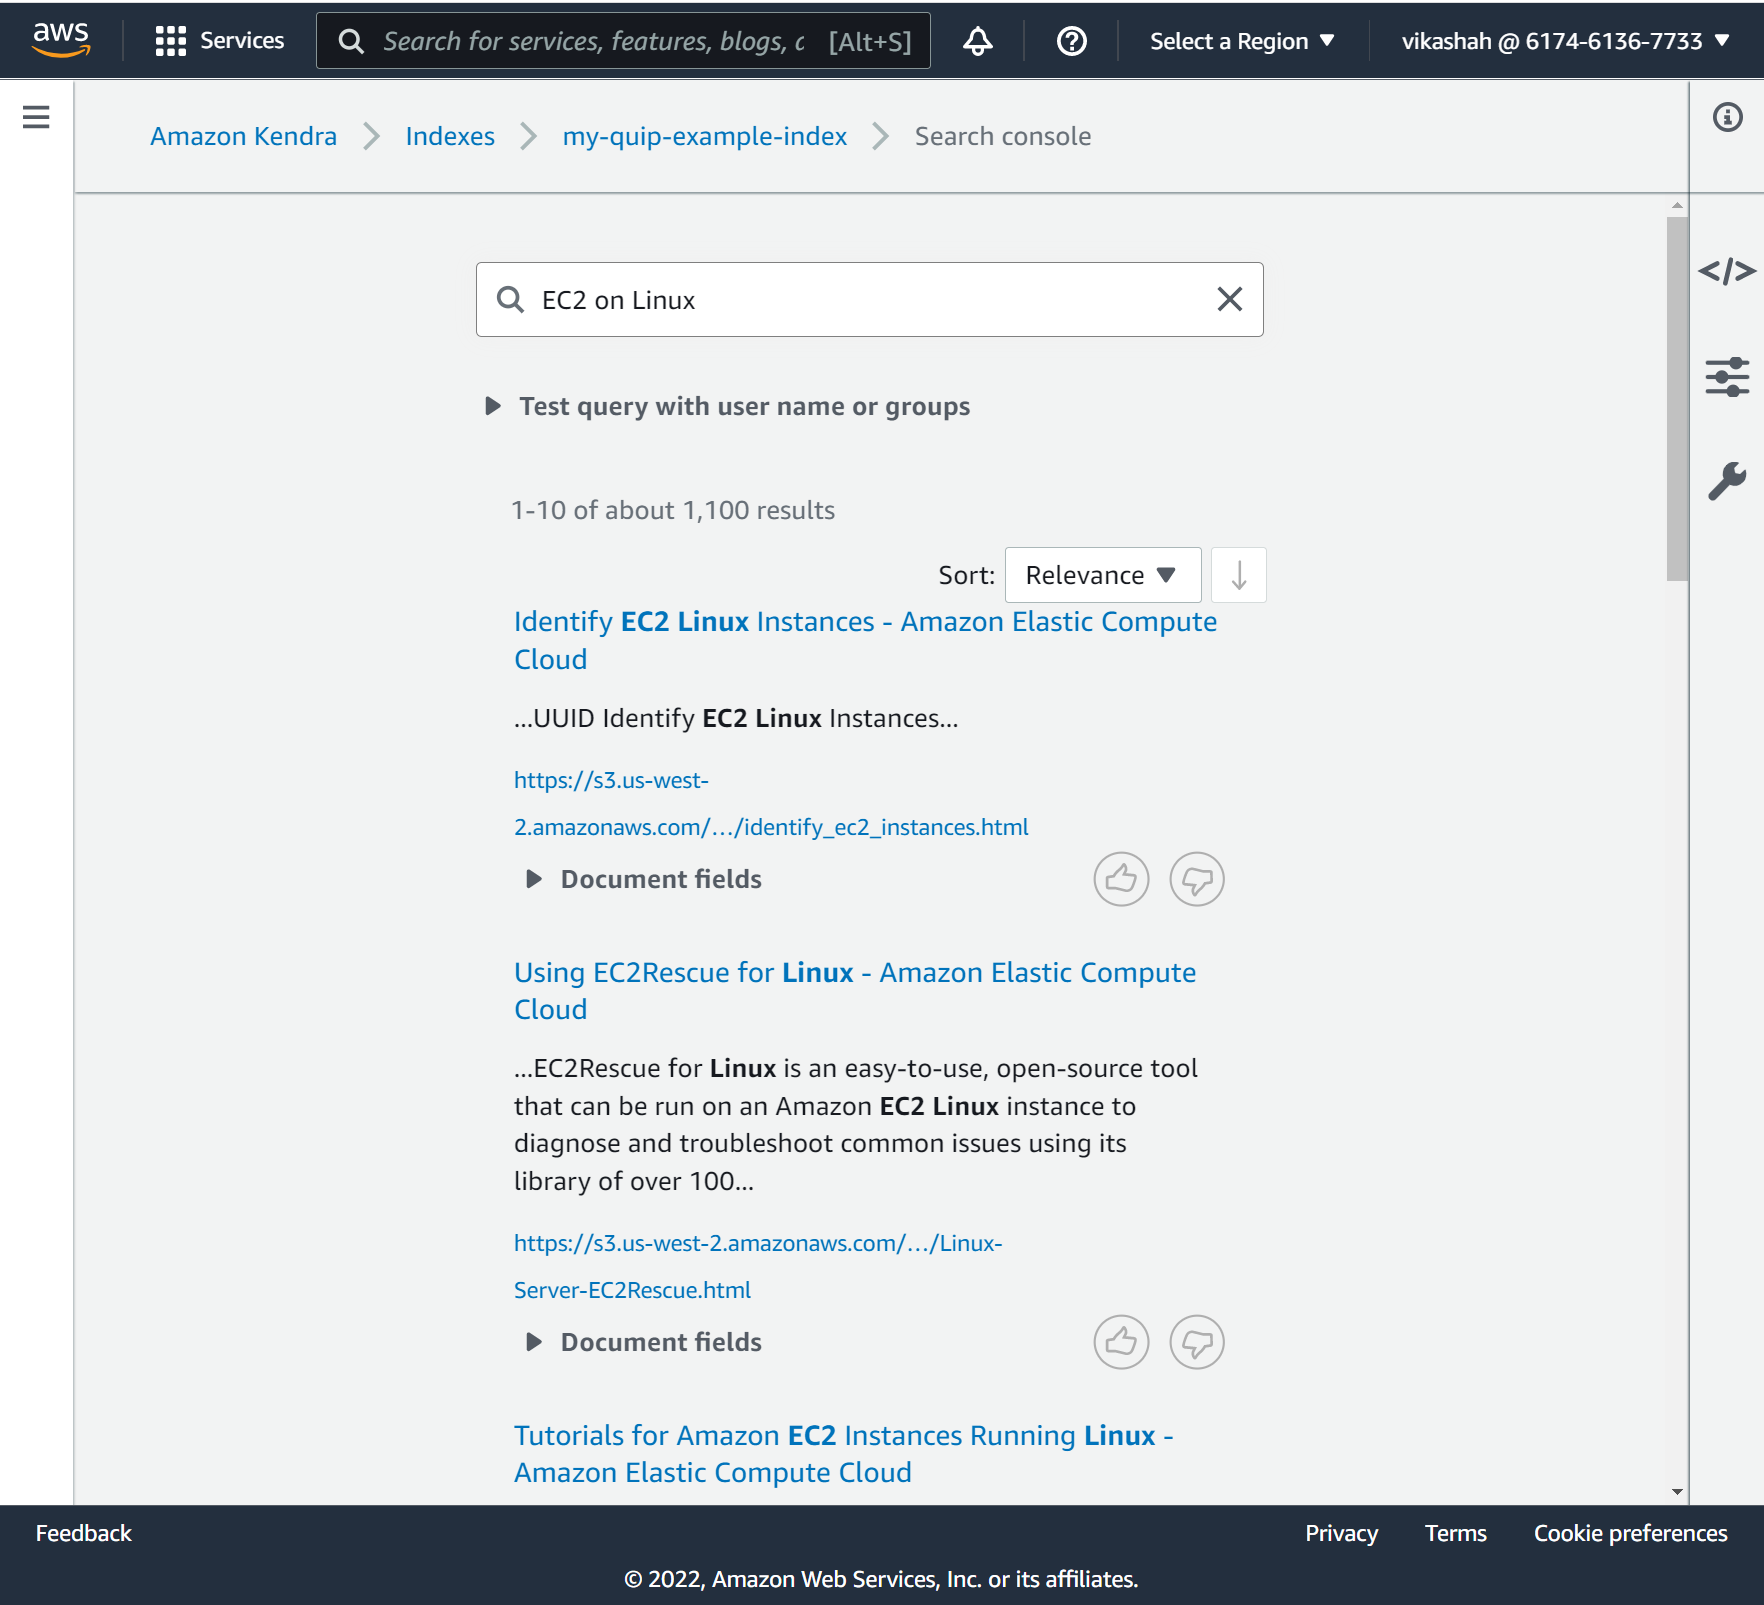
- Enter your search in the search field. For this post, we search for
EC2 on Linux.

निम्नलिखित स्क्रीनशॉट हमारे परिणाम दिखाता है।
सीमाओं
There are some known limitations for the data source ingestion. Some limitations are due to the need for admin access for accessing some of the content, others due to specific implementation details. They are as follows:
- Only full crawls are supported. If you want the connector to support changelog crawls, admin API access is required, and you have to enable the admin API on the Quip website.
- Only shared folders are crawled. Even if we use the personal access token of an admin user, we can’t crawl data in the private folders of other users.
- The solution doesn’t support specifying file types for inclusion and exclusion, because Quip doesn’t store the file type extension, just the file name.
- Real-time events require a subscription and admin API access.
निष्कर्ष
The Amazon Kendra connector for Quip enables organizations to make the invaluable information stored in Quip documents available to their users securely using intelligent search powered by Amazon Kendra. The connector also provides facets for Quip repository attributes such as authors, file type, source URI, creation dates, parent files, and category so users can interactively refine the search results based on what they’re looking for.
For more information on how you can create, modify, and delete data and metadata using custom document enrichment as content is ingested from the Quip repository, refer to अंतर्ग्रहण प्रक्रिया के दौरान दस्तावेज़ मेटाडेटा को अनुकूलित करना और अमेज़ॅन केंद्र में कस्टम दस्तावेज़ संवर्धन के साथ अपने खोज अनुभव को बढ़ाने के लिए अपनी सामग्री और मेटाडेटा को समृद्ध करें.
लेखक के बारे में
 आशीष लगवणकरी एडब्ल्यूएस में सीनियर एंटरप्राइज सॉल्यूशंस आर्किटेक्ट हैं। उनकी मुख्य रुचियों में एआई / एमएल, सर्वर रहित और कंटेनर प्रौद्योगिकियां शामिल हैं। आशीष बोस्टन, एमए, क्षेत्र में स्थित है और पढ़ने, बाहर और अपने परिवार के साथ समय बिताने का आनंद लेता है।
 विकास शाही अमेज़ॅन वेब सेवाओं में एंटरप्राइज सॉल्यूशंस आर्किटेक्ट हैं। वह एक प्रौद्योगिकी उत्साही है जो ग्राहकों को जटिल व्यावसायिक चुनौतियों के लिए नवीन समाधान खोजने में मदद करता है। उनकी रुचि के क्षेत्र एमएल, आईओटी, रोबोटिक्स और स्टोरेज हैं। अपने खाली समय में विकास को रोबोट बनाना, हाइकिंग और यात्रा करना पसंद है।
- कॉइनस्मार्ट। यूरोप का सर्वश्रेष्ठ बिटकॉइन और क्रिप्टो एक्सचेंज।
- प्लेटोब्लॉकचैन। Web3 मेटावर्स इंटेलिजेंस। ज्ञान प्रवर्धित। नि: शुल्क प्रवेश।
- क्रिप्टोहॉक। Altcoin रडार। मुफ्त परीक्षण।
- Source: https://aws.amazon.com/blogs/machine-learning/search-for-knowledge-in-quip-documents-with-intelligent-search-using-the-quip-connector-for-amazon-kendra/
- "
- 10
- 100
- About
- पहुँच
- के पार
- अतिरिक्त
- व्यवस्थापक
- सब
- वीरांगना
- अमेज़ॅन वेब सेवा
- की घोषणा
- अन्य
- एपीआई
- एपीआई एक्सेस
- दृष्टिकोण
- लगभग
- क्षेत्र
- विशेषताओं
- लेखकों
- उपलब्ध
- एडब्ल्यूएस
- सीमा
- बोस्टन
- मुक्केबाज़ी
- ब्राउज़र
- इमारत
- व्यापार
- कब्जा
- कब्जा
- वर्ग
- चुनौतियों
- चुनौतीपूर्ण
- चुनें
- सहयोग
- सहयोग
- जटिल
- जुड़ा हुआ
- कंसोल
- कंटेनर
- सामग्री
- नियंत्रण
- मूल
- निर्माण
- रिवाज
- ग्राहक
- तिथि
- खजूर
- पहुंचाने
- दिखाना
- निर्भर करता है
- विकास
- युक्ति
- दस्तावेजों
- नहीं करता है
- डोमेन
- डोमेन नाम
- आसानी
- सक्षम
- दर्ज
- उद्यम
- घटनाओं
- उदाहरण
- अनुभव
- कारकों
- परिवार
- फ़ील्ड
- खोज
- प्रथम
- पहली बार
- निम्नलिखित
- प्रपत्र
- पूर्ण
- समारोह
- होने
- मदद
- पकड़
- कैसे
- How To
- HTTPS
- कार्यान्वयन
- शामिल
- समावेश
- अनुक्रमणिका
- करें-
- अभिनव
- बुद्धिमान
- ब्याज
- रुचियों
- IOT
- ज्ञान
- जानने वाला
- सीख रहा हूँ
- सूची
- देख
- मशीन
- यंत्र अधिगम
- प्रबंध
- प्रबंधक
- ML
- अधिक
- विभिन्न
- नामों
- प्रकृति
- पथ प्रदर्शन
- नेटवर्क
- खुला
- ऑप्शंस
- संगठन
- संगठनात्मक
- संगठनों
- अन्य
- सड़क पर
- स्टाफ़
- मंच
- निजी
- प्रक्रिया
- उत्पादकता
- प्रदान करना
- प्रदान करता है
- पढ़ना
- वास्तविक समय
- अभिलेख
- कोष
- की आवश्यकता होती है
- अपेक्षित
- परिणाम
- रोबोटिक्स
- रन
- दौड़ना
- स्कैन
- Search
- सेकंड
- सुरक्षित रूप से
- चयनित
- serverless
- सेवाएँ
- सेट
- साझा
- सरल
- आकार
- So
- समाधान
- समाधान ढूंढे
- कुछ
- गति
- खर्च
- शुरू
- स्थिति
- भंडारण
- की दुकान
- अंशदान
- सफल
- की आपूर्ति
- समर्थन
- समर्थित
- टीम
- टेक्नोलॉजीज
- टेक्नोलॉजी
- परीक्षण
- पहर
- एक साथ
- टोकन
- परंपरागत
- यात्रा का
- अद्वितीय
- उपयोग
- उपयोगकर्ताओं
- देखें
- आयतन
- वेब
- वेब ब्राउजर
- वेब सेवाओं
- वेबसाइट
- क्या
- कौन
- काम