Cryptocurrency has been slowly breaching the mainstream after years of being confined to early adopters. There’s a huge number of companies who keep some of their reserves in crypto including Tesla, Square, and Voyager Digital. New innovative currencies are being created all the time which address past criticisms of earlier iterations.
Systems have improved over time and it’s less intimidating than it was to use crypto for transactions. However, many historical pieces exist online that make business owners scared and feel that enabling crypto payments would be difficult for them. This couldn’t be further from the truth in 2021. The small details have been mainly ironed out and there are well-trodden paths for curious business owners to follow.
One piece of the puzzle is how to properly invoice transactions in cryptocurrency. It might sound like a headache but it’s actually very simple with the tools available. Request app is one of the most established ways to do this. Request has over 900 users and $149 million traded so far. Unlike many other apps, it has a strong and proven track record. It creates professional-looking invoices in a compliant and secure manner. The user experience is of the standard one would expect for a client-facing application and you can be sure customers will not be repelled.
This article breaks down the two key parts of the process. The first step is how to create and send your crypto invoice. The second step shows you what it will be like for a client to receive the invoice and how they would pay.
Create an invoice
From within the app click “Create an Invoice”

This takes you to the new invoice screen, here you can see the basic layout and its clean display. You need to pick the currency you want to send the invoice in. As you can see there are fiat currencies in the list but also cryptocurrencies such as Ethereum. You can select USD here to make it easier for your records with the IRS and later select the currency you wish to be paid in.

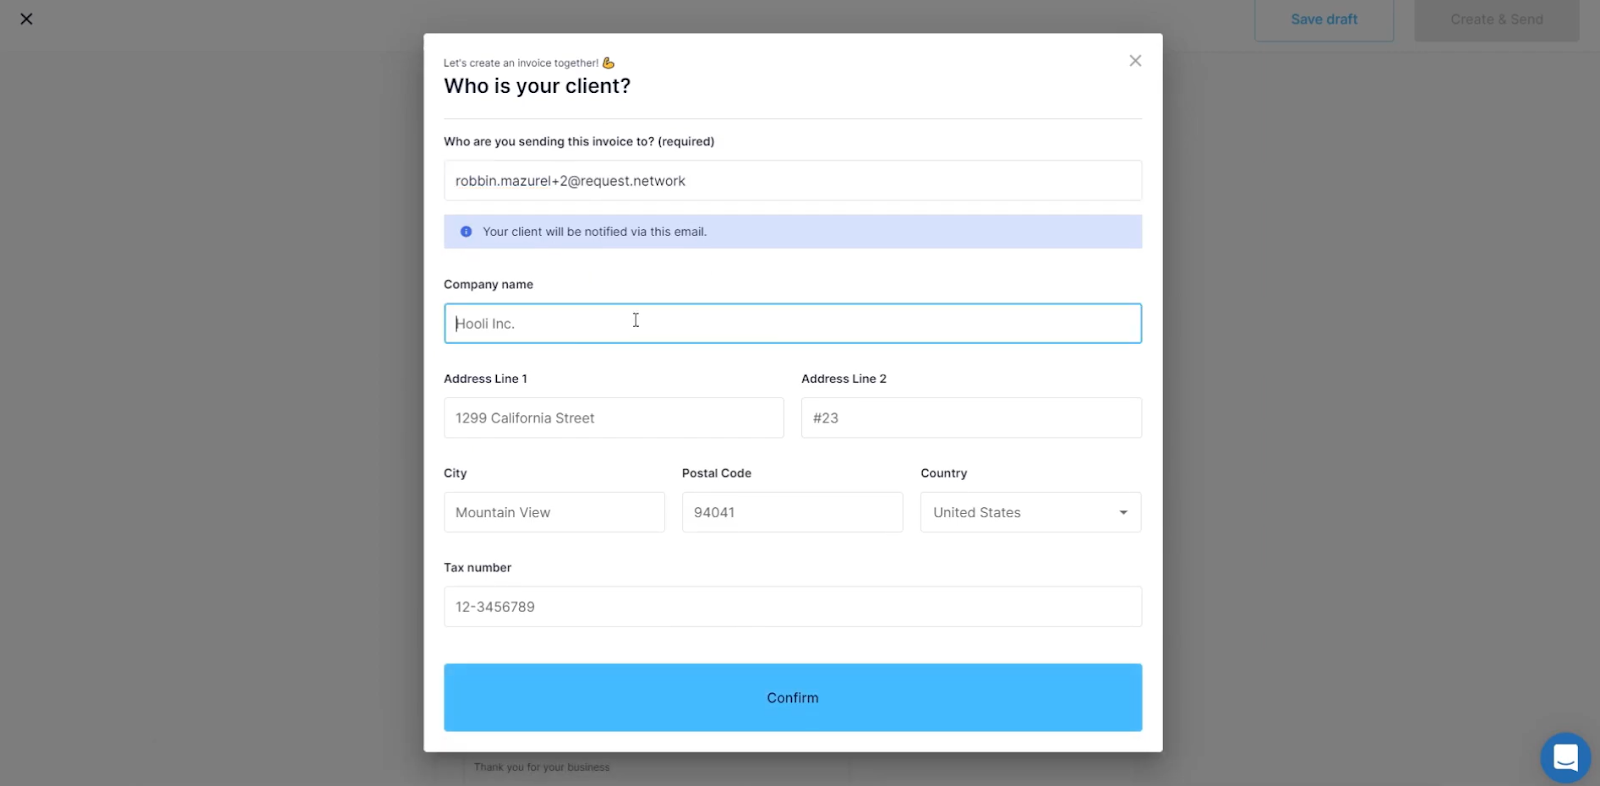
Then like a normal invoice, you need to add your client’s name and their key details.
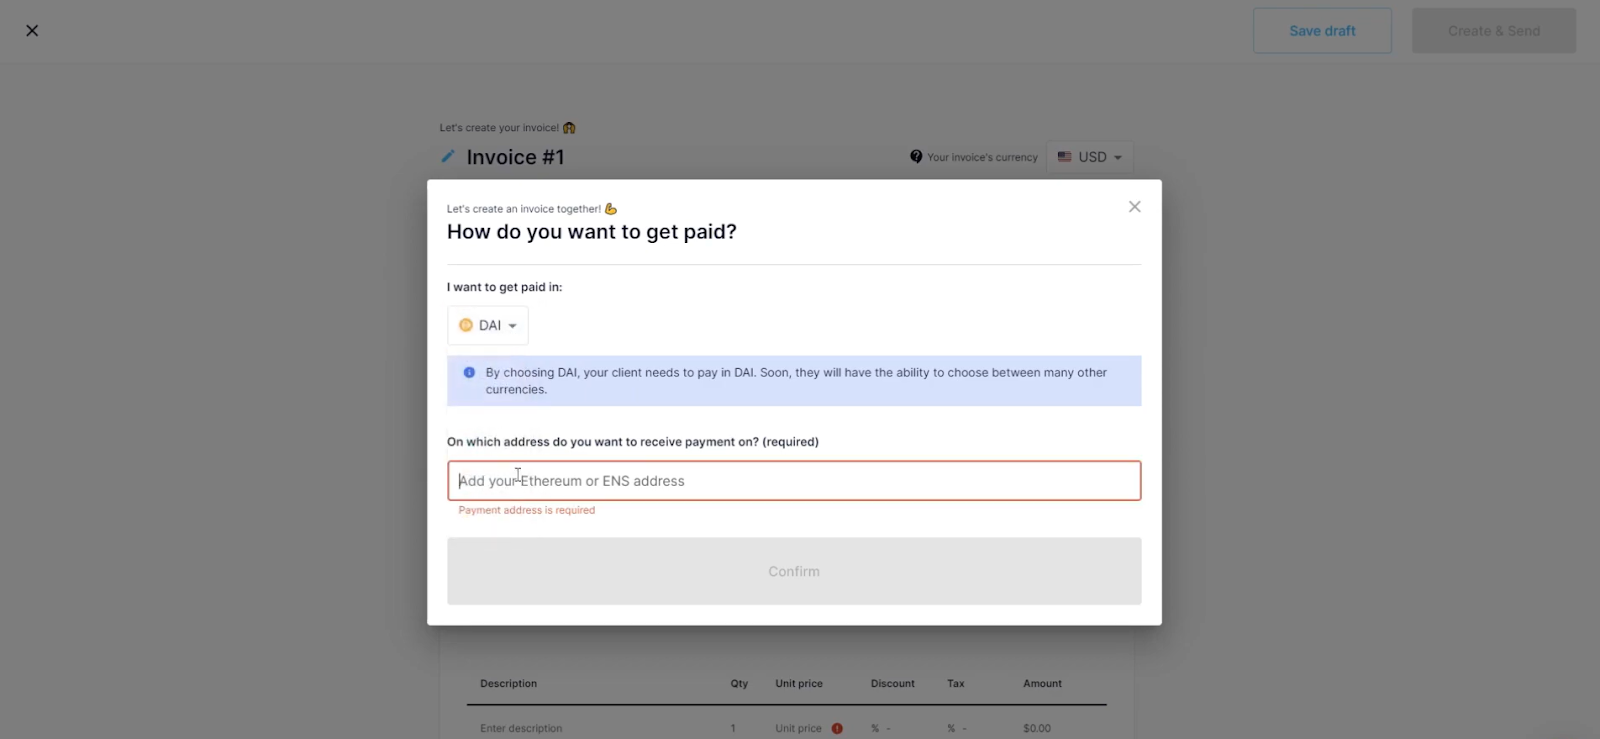
Next you must select which currency you wish to be paid in. Here you choose the cryptocurrency of your choice. The system will ask you for the relevant address which the client will need to pay you.
Once that is done, you can see all the details are specified on the invoice. You can enter the price of whatever you are selling and add multiple lines items. You can choose to apply a discount too and it’s advisable to state how much tax needs to be applied for your jurisdiction. Finally, you can add a little memo at the end to thank your client or give them more details.
You can also add a due date for the payment to help the client understand its urgency. Once that’s done, you simply press ‘Create & Send’. Congratulations, you’ve sent your first crypto invoice!

Pay an invoice
The second part is how to pay invoices once they have been received. It makes sense for you to understand this process completely before sending invoices to clients so you know exactly what they will see and can offer support if they need it.
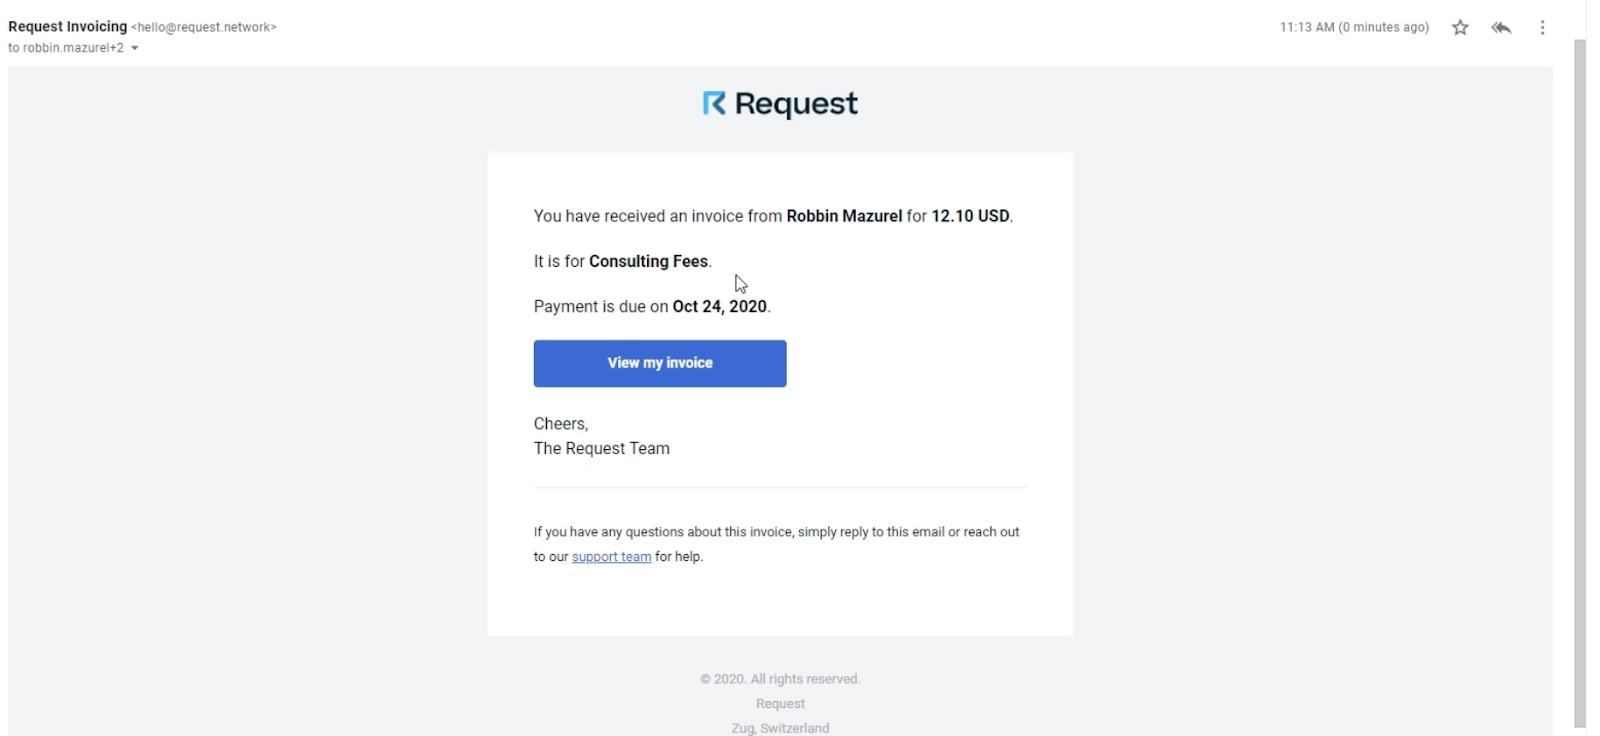
They will receive the invoice in their inbox from Request. They see who it is from, the price, what it is for, and the due date. To pay, they click “View my invoice”.
They will see the invoice exactly as how you created it though with a “Pay now” button located in the top right corner.

When they press this button, they are asked to select their wallet. Request supports several of the most popular wallets including Opera, Portis, and MetaMask.
Source: https://coinpedia.org/information/how-to-invoice-your-clients-in-crypto/
- &
- Advertisement
- All
- app
- Application
- apps
- article
- business
- Companies
- crypto
- cryptocurrencies
- cryptocurrency
- currencies
- Currency
- Customers
- digital
- Discount
- Display
- Early
- early adopters
- ethereum
- experience
- Fiat
- Finally
- First
- follow
- here
- How
- How To
- HTTPS
- huge
- Including
- IRS
- IT
- Key
- List
- Mainstream
- MetaMask
- million
- Most Popular
- offer
- online
- Opera
- Other
- owners
- Pay
- payment
- payments
- Popular
- press
- price
- records
- Screen
- sense
- Simple
- small
- So
- square
- State
- support
- Supports
- system
- tax
- Tesla
- time
- top
- track
- Transactions
- USD
- users
- Wallet
- Wallets
- WHO
- within
- Yahoo
- years