Starfield’s real final mission is called “Revelation,” and it wraps up the conflict between you, The Emissary, and The Hunter. (The game does have an epilogue mission called “One Giant Leap,” but “Revelation” is Starfield’s big, climactic finish.)
“Revelation” plays out a little bit differently depending on who you decided to side with in the “Unearthed” mission: The Emissary, The Hunter, or neither. We’ve checked our experience (siding with The Emissary) against other players who made different choices, and it sounds like the mission is very similar. However, know that your “Revelation” might have some small deviations from what you see in this guide, depending on your decisions.
In this Starfield guide, we’ll walk you through how to finish the “Revelation” mission and collect all of the artifacts so you can finally reach The Unity.
Land at the temple
Once you’ve finished “Unearthed” and collected the final artifacts in the “Final Glimpses” quest, you’ll be able to meet up with your chosen ally — either The Emissary or The Hunter — in order to chase down the final objects in a mysterious temple.
Go to Masada III // Hail The Scorpius or Helix // Defeat the Starborn Ships // Hail the Helix or Scorpius
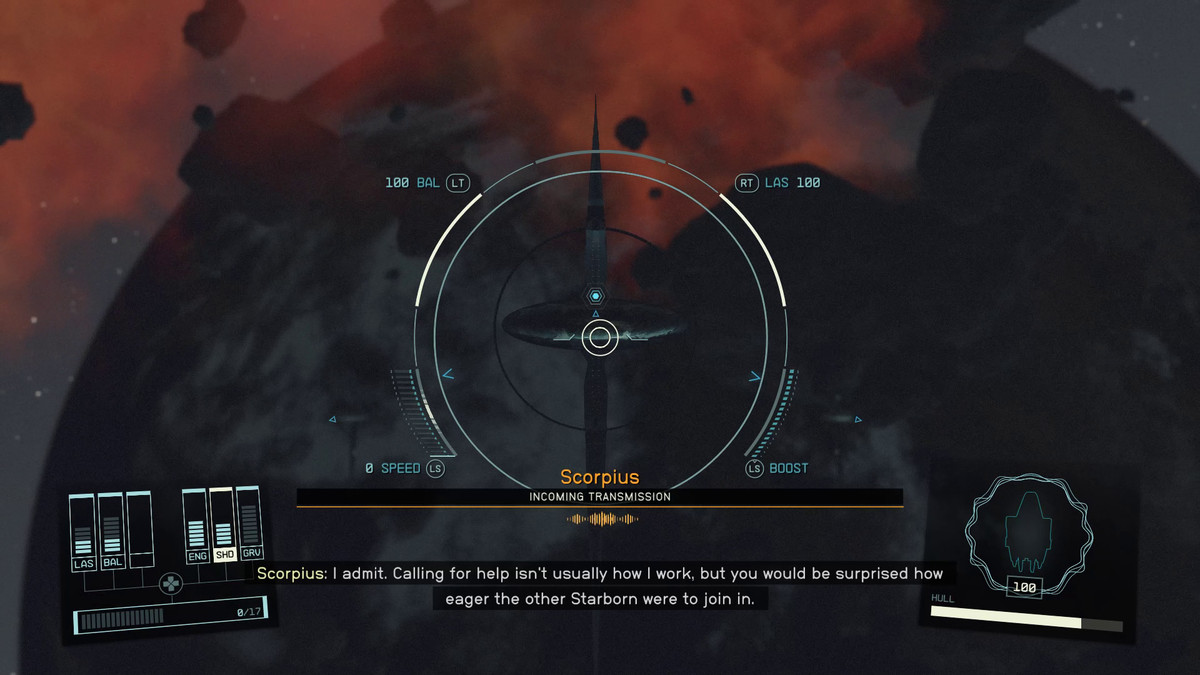
Wherever you are in the galaxy, take off to Masada III — unless you’ve explored the far reaches of space, there’s a good chance this will take multiple jumps in your ship.
When you finally reach orbit, you’ll see a Starborn ship, depending on who you sided with. Hail it. No matter which option you choose, you’ll enter into a massive space battle with your enemy and a few other Starborn ships. These things hit really hard, so make sure you keep your shields up and use ship parts to repair your hull whenever you need to. Focus on the main Starborn’s allies first, and then turn your attention to the big ship.
As long as you didn’t tell both The Hunter and The Emissary to go kick rocks, your ally will show up after a few seconds to assist you mid-combat.
Once all the Starborn are dead, talk to your ally (if you have one) and prepare to exit orbit.
Land at the Buried Temple
Select the Buried Temple landing zone on Masada III.
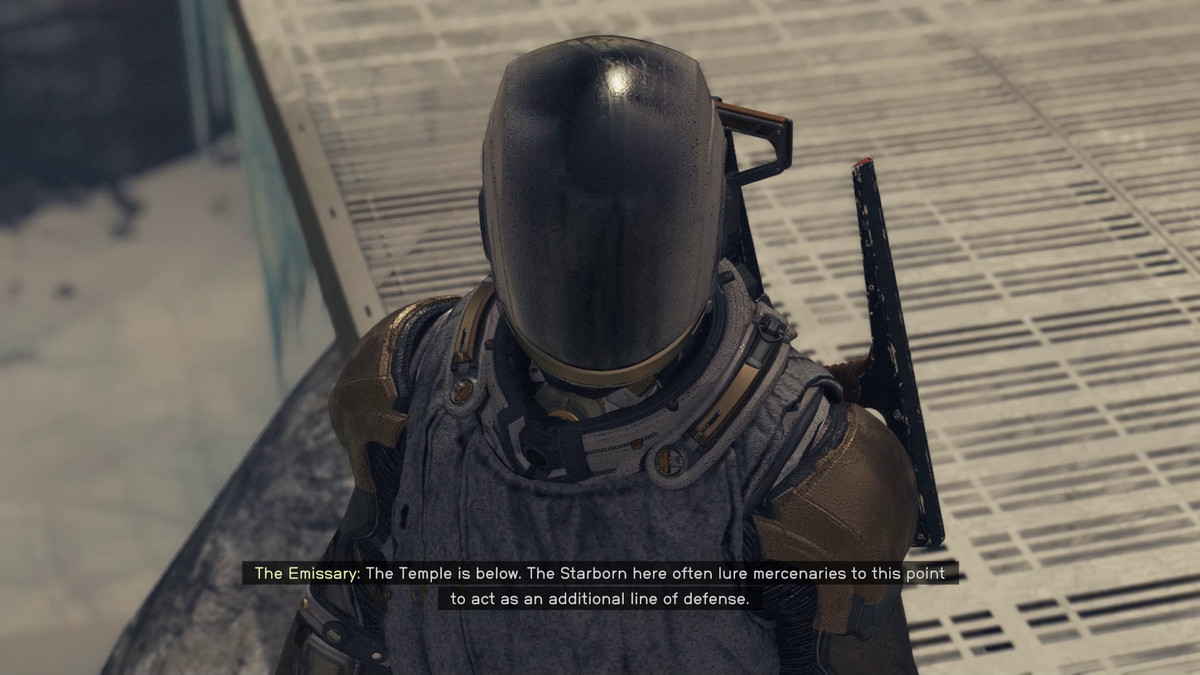
When you land, get out and make your way toward the temple. If you have an ally, speak to them when you land to get an idea of what’s ahead of you.
Battle your way through the Starborn
This mission is essentially a handful of mini boss battles back to back. Here’s how to beat them.
Defeat the Starborn — Guardian Musa
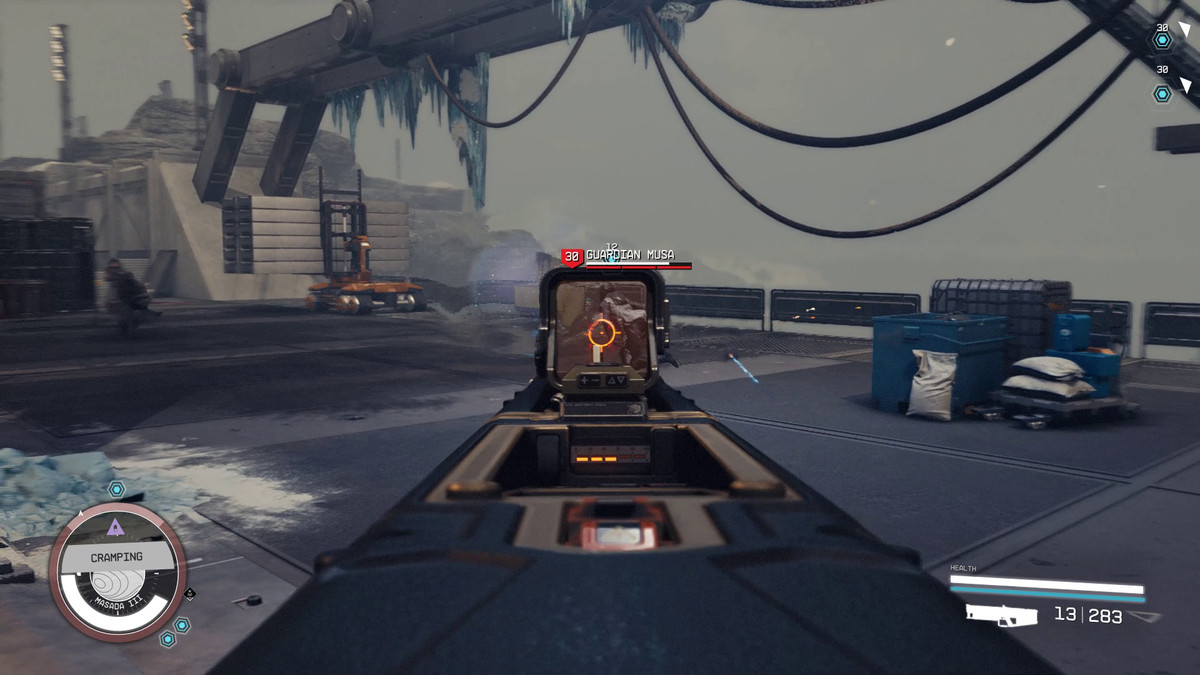
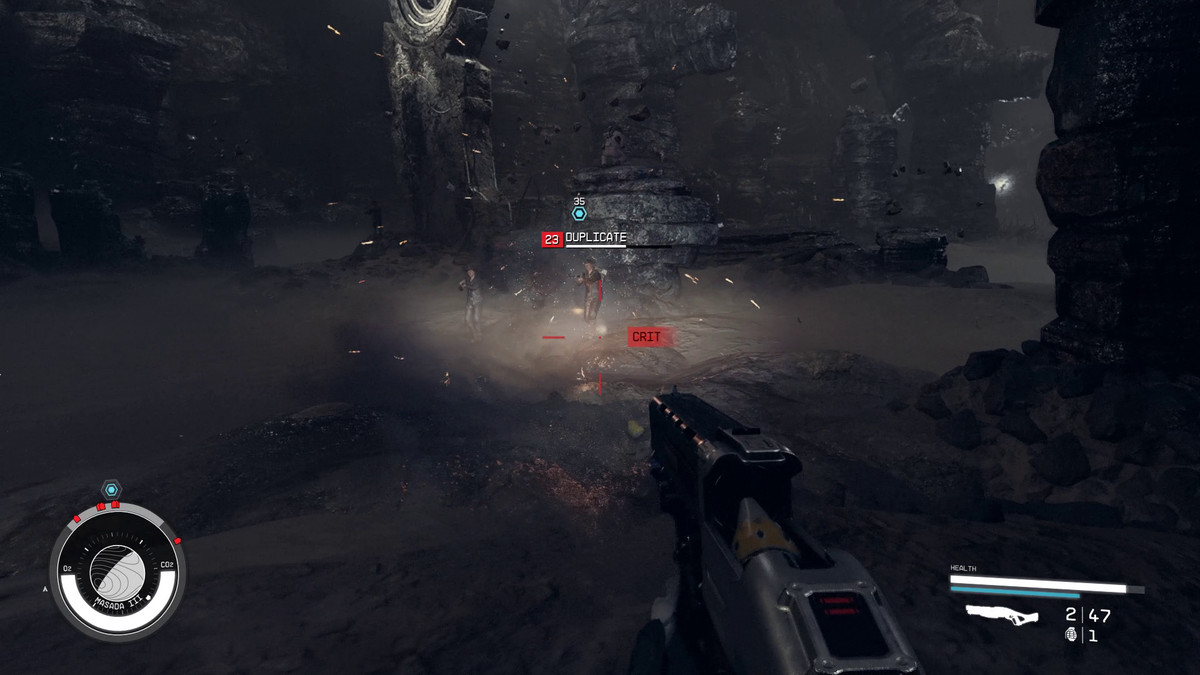
When you reach the bridge, you’ll be ambushed by Guardian Musa. This Starborn uses the duplicate ability to create multiple copies of themselves. You’ll need to run up and down the stairs, chasing every copy down and killing it before you can move on.
Defeat the Starborn — Guardian Athaliah // Find a way to open the door
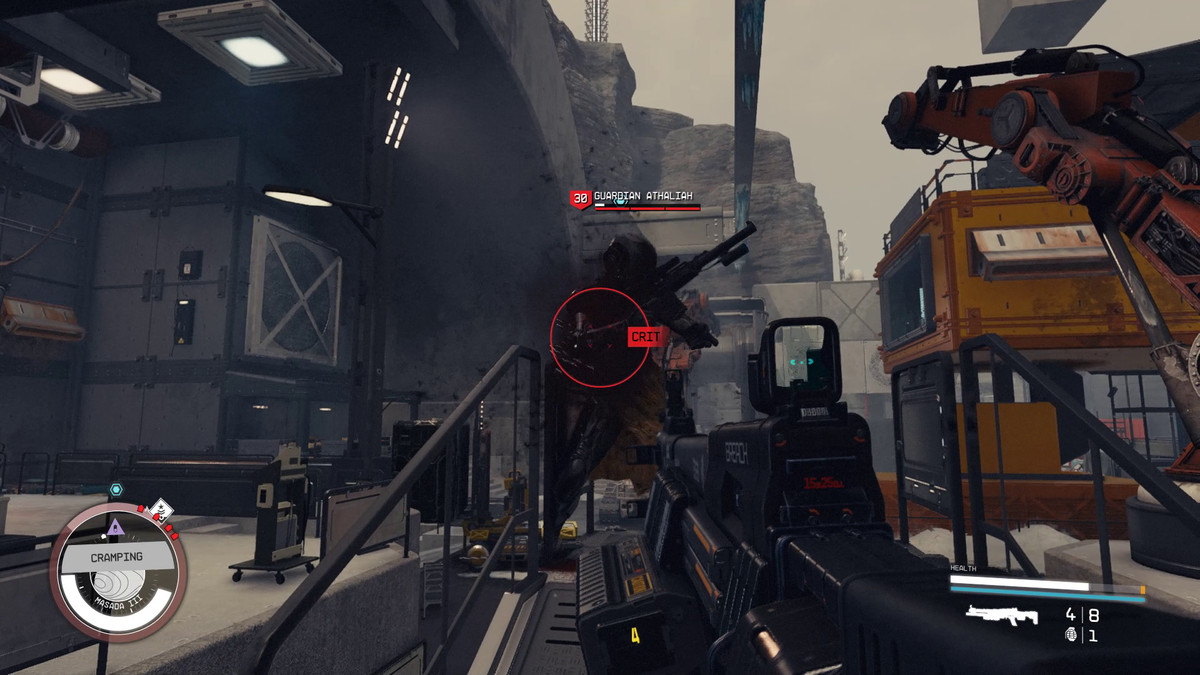
Head into the temple proper, through the tunnel, into what looks like a construction site. Now you’ll battle Guardian Athaliah, who will resurrect zombified versions of the nearby Ecliptic Merc corpses to attack you. Run around and look for the Guardian herself, otherwise she’ll just keep spawning minions. Kill her as quickly as possible and then kill the Ecliptic Mercs until one of them drops a key for the door. Use it to enter the complex.
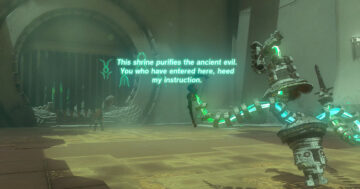
Enter the Anomaly
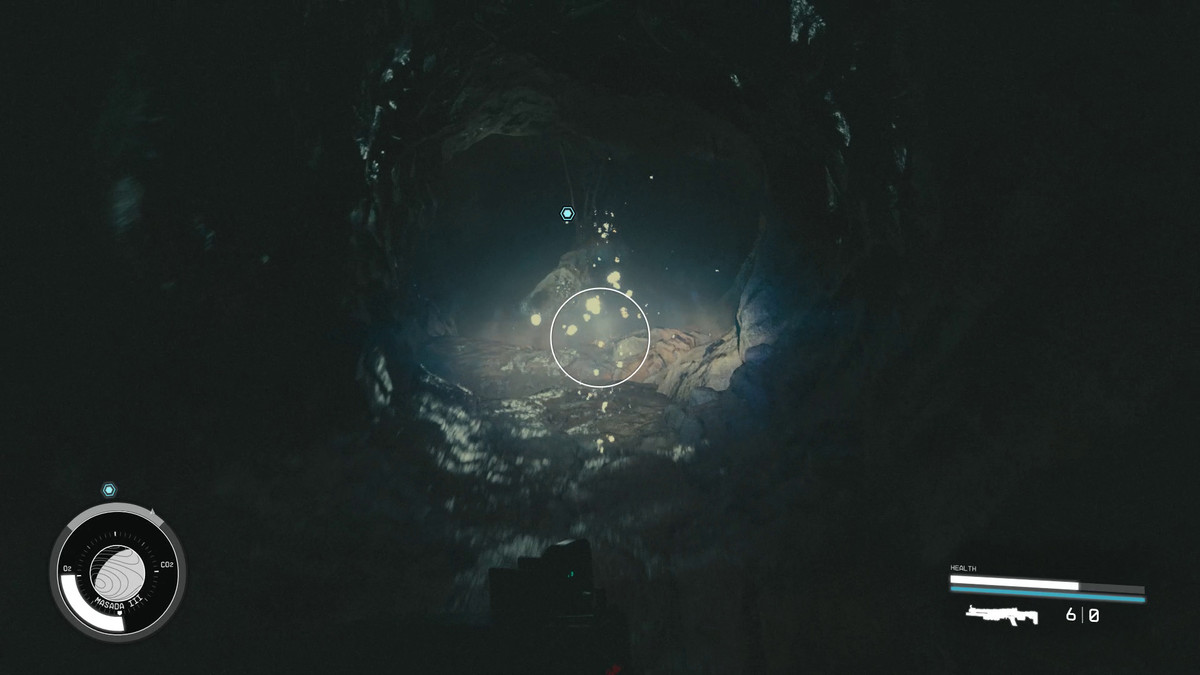
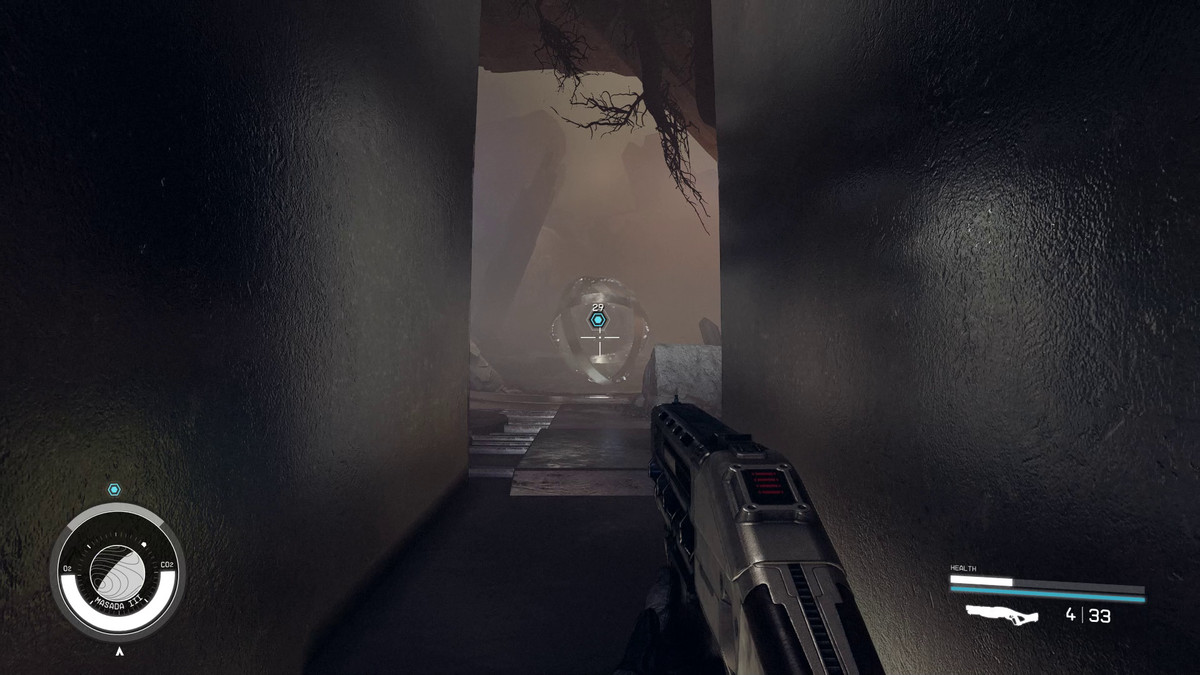
Follow the waypoint inside the building and eventually find an anomaly, which will teleport you to another universe. You’ll find yourself back in the cave with Supervisor Lin and Heller. Progress forward to exit the vision/anomaly and continue on your way.
Defeat the Starborn — Guardian Teuta and Rinn — (Optional) Disable the Defenses — Find a way to open the door
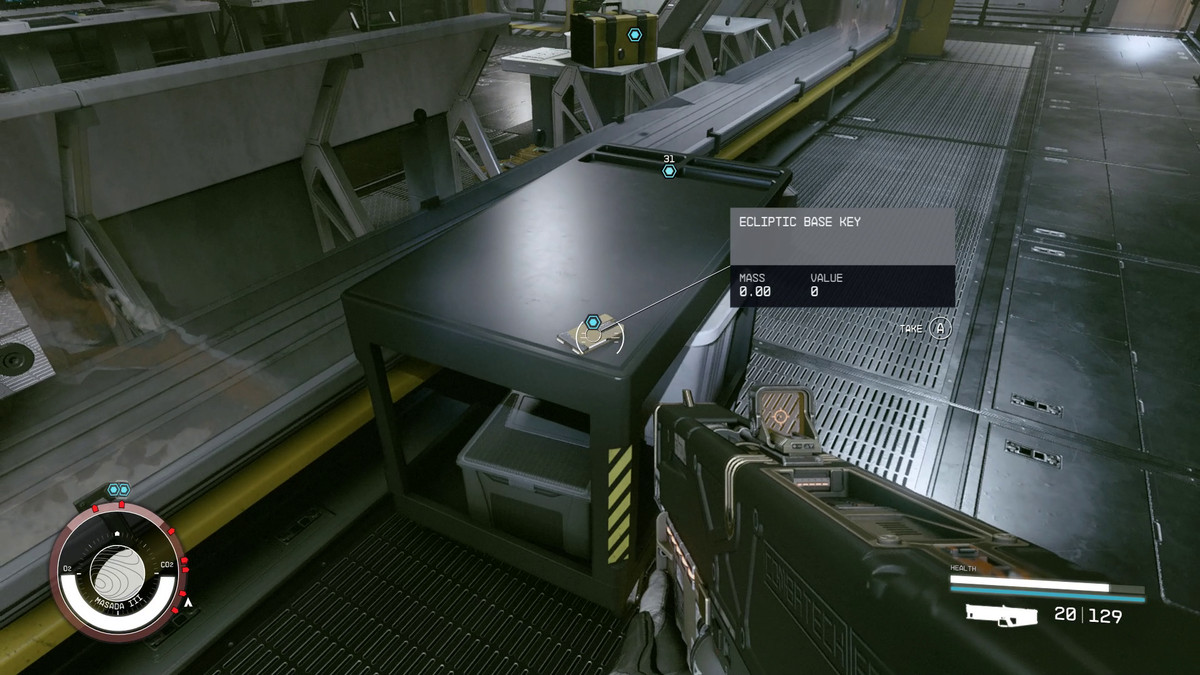
After you get out of the Anomaly, you’ll be attacked by Guardian Teuta and Guardian Rinn, who have an army of security robots at their disposal. Focus on both of them, as usual. When both are dead, head up into the control room. Grab the key that’s sitting on the cart in front of the main glass of the office. Use the key to get inside the room and turn off the security.
Head under the office and back to find the door to the next room.
Enter the Anomaly // Find a way out of the Anomaly // Leave the Anomaly
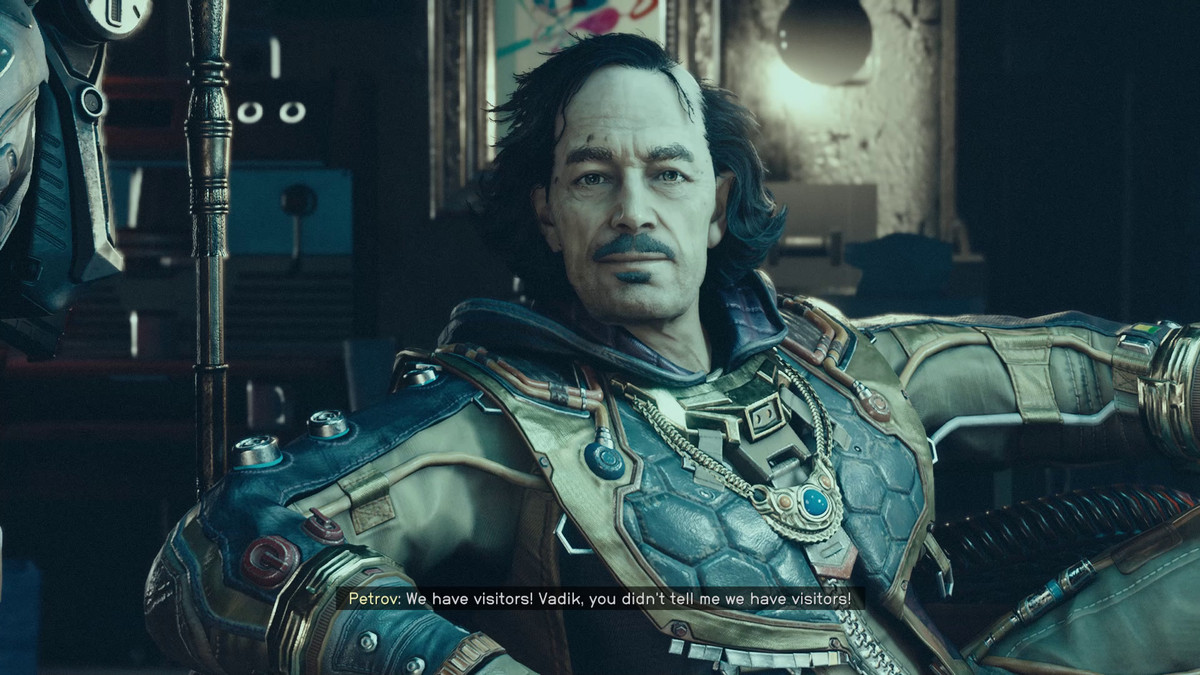
Follow the path until you reach another anomaly. This time you’ll be back talking to Captain Petrov. Talk to him until he and his goons attack. Kill them all and loot Petrov. Use his key on the door behind his throne and walk into the anomaly.
Defeat the Starborn — Guardian Fionn
Once out of the anomaly, take the elevator down and you’ll pop into another anomaly, where Vladimir is cradling your dead body. Talk to him for a second and leave through the anomaly blip.
When the elevator stops, grab all the ammo and weapons on the blanket — there is a ton of good stuff here — and head out into the wide, open area. This is the most obnoxious fight in this mission. You’ll be battling Guardian Fionn here, who will duplicate you, your ally, and your companion, and use the duplicates as fodder. It’s very confusing as to who you’re actually shooting — your ally Sam Coe or the clone that looks just like them.
Keep killing duplicates as they get in your way, but focus primarily on Guardian Fionn. Once they’re dead, head to the back of the room and you’ll meet with the Starborn you chose not to ally with.
Finish gathering the artifacts
Now you’ll have the final showdown, whether it’s a boss battle or a battle of wits.
Take the Hunter/Emissary’s Artifacts
Head into the room with the Starborn you’re at war with and either tell them you want to fight or use Persuade on them so they’ll want to just give you their artifacts. This persuasion is difficult, as it requires eight pips. However, this is the final mission in the game, and if you’ve invested at all in the Persuade skill, you can pass it if you’re even a little lucky. If you do succeed, the enemy Starborn will just give you their artifact in what is a hilariously anti-climactic moment. If you chose not to ally yourself with either Starborn, the persuasion will still result in you getting all the artifacts.
If you don’t want to talk it out, you can always attack the Starborn, which will end in a fight to the death. Once the Starborn is dead, take their artifacts for yourself.
Talk to the Emissary or Hunter // Take the Artifact
Regardless of how you got the other Starborn’s artifacts, turn around to your ally and talk to them. They’ll give you their artifacts so you can complete the set.
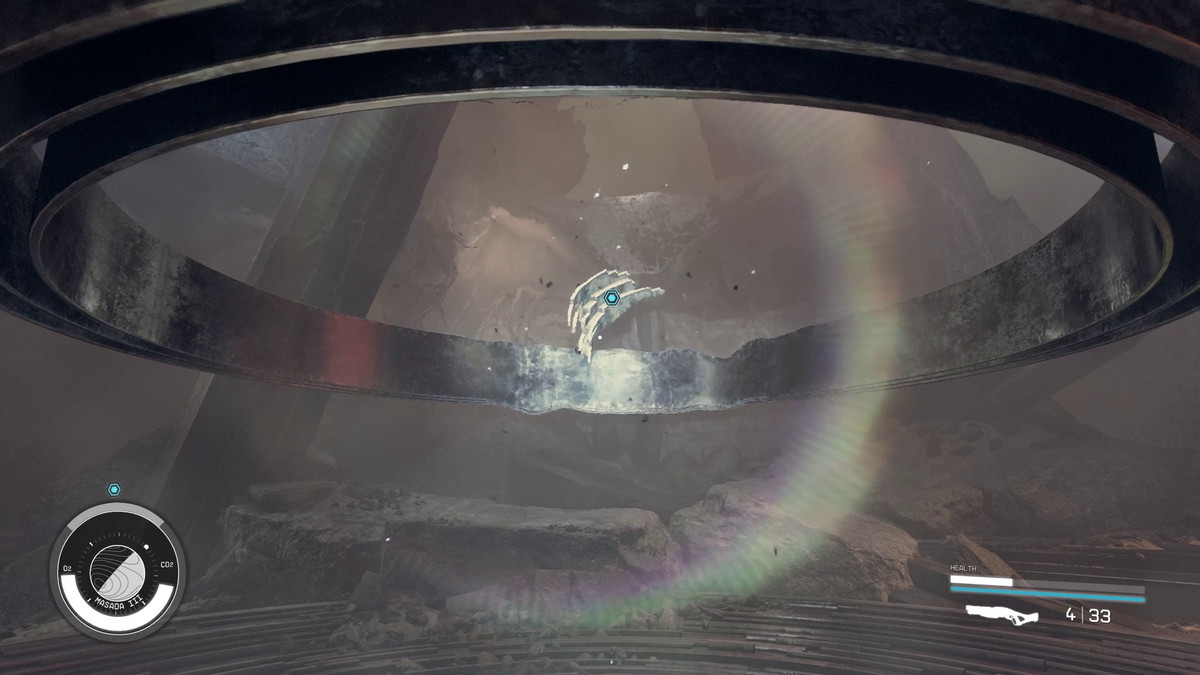
Grab the final artifact from the spinning circles in the middle of the temple and you’ll finish this mission as it teleports you back to your ship.
With “Revelation” done, you’ll still have the “One Giant Leap” mission left, but it’s more of an epilogue than a real mission. If you went fast through the second half of the campaign, it’s also distinctly possible that you haven’t attended the funeral for your fallen companion yet, which is the “Missed Beyond Measure” quest. You’ll want to say farewell to your friend before you do “One Giant Leap.”
- SEO Powered Content & PR Distribution. Get Amplified Today.
- PlatoData.Network Vertical Generative Ai. Empower Yourself. Access Here.
- PlatoAiStream. Web3 Intelligence. Knowledge Amplified. Access Here.
- PlatoESG. Automotive / EVs, Carbon, CleanTech, Energy, Environment, Solar, Waste Management. Access Here.
- PlatoHealth. Biotech and Clinical Trials Intelligence. Access Here.
- ChartPrime. Elevate your Trading Game with ChartPrime. Access Here.
- BlockOffsets. Modernizing Environmental Offset Ownership. Access Here.
- Source: https://www.polygon.com/starfield-guide/23851833/revelation-quest-walkthrough
- :is
- :not
- :where
- $UP
- a
- Able
- actually
- After
- against
- ahead
- All
- Ally
- also
- always
- an
- and
- Another
- approaches
- ARE
- AREA
- Army
- around
- AS
- assist
- At
- attack
- attention
- back
- base
- Battle
- battles
- battling
- BE
- before
- behind
- between
- Beyond
- Big
- Bit
- body
- BOSS
- both
- BRIDGE
- Building
- but
- by
- called
- Campaign
- CAN
- Chance
- chase
- checked
- choices
- Choose
- chose
- chosen
- collect
- companion
- complete
- complex
- conflict
- confusing
- construction
- continue
- copies
- create
- dead
- Death
- decided
- decisions
- Depending
- different
- difficult
- do
- does
- done
- Dont
- Door
- down
- Drops
- duplicates
- eight
- either
- end
- Enter
- Epilogue
- essentially
- Ether (ETH)
- Even
- eventually
- Every
- Exit
- experience
- Explored
- Fallen
- far
- farewell
- FAST
- few
- fight
- final
- Finally
- Find
- finish
- First
- Focus
- For
- Forward
- friend
- from
- front
- Galaxy
- game
- gathering
- get
- getting
- giant
- Give
- glass
- Go
- good
- grab
- guardian
- Guardians
- guide
- Half
- handful
- Hard
- Have
- he
- head
- her
- here
- him
- his
- Hit
- How
- How To
- However
- HTTPS
- hunter
- idea
- if
- iii
- in
- inside
- into
- invested
- IT
- jumps
- just
- Keep
- Key
- kick
- Kill
- Know
- Land
- landing
- Leap
- Leave
- left
- like
- little
- Long
- Look
- LOOKS
- made
- Main
- make
- massive
- Matter
- Meet
- Middle
- might
- Mission
- moment
- more
- most
- move
- multiple
- mysterious
- Need
- Neither
- next
- no
- now
- objects
- of
- off
- Office
- on
- once
- ONE
- open
- Option
- or
- Orbit
- order
- Other
- otherwise
- our
- out
- parts
- pass
- path
- Picks
- plato
- Plato Data Intelligence
- PlatoData
- player
- players
- plays
- Polygon
- pop
- possible
- Prepare
- primarily
- Progress
- proper
- quest
- quickly
- reach
- Reaches
- real
- really
- repair
- requires
- result
- robots
- Room
- Run
- s
- Sam
- say
- Second
- seconds
- security
- see
- set
- ships
- shooting
- show
- Showdown
- side
- similar
- site
- Sitting
- skill
- small
- So
- some
- Space
- speak
- Speaks
- Starfield
- Steps
- Still
- Stops
- succeed
- sure
- Take
- Talk
- talking
- tell
- that
- The
- The Guardian
- the security
- their
- Them
- themselves
- then
- There.
- These
- they
- things
- this
- throne
- Through
- time
- to
- Ton
- toward
- tunnel
- TURN
- under
- Universe
- until
- use
- uses
- versions
- very
- via
- walkthrough
- want
- war
- Way..
- Weapons
- webp
- went
- What
- What is
- when
- whenever
- whether
- which
- WHO
- wide
- will
- with
- yet
- you
- Your
- yourself
- zephyrnet